
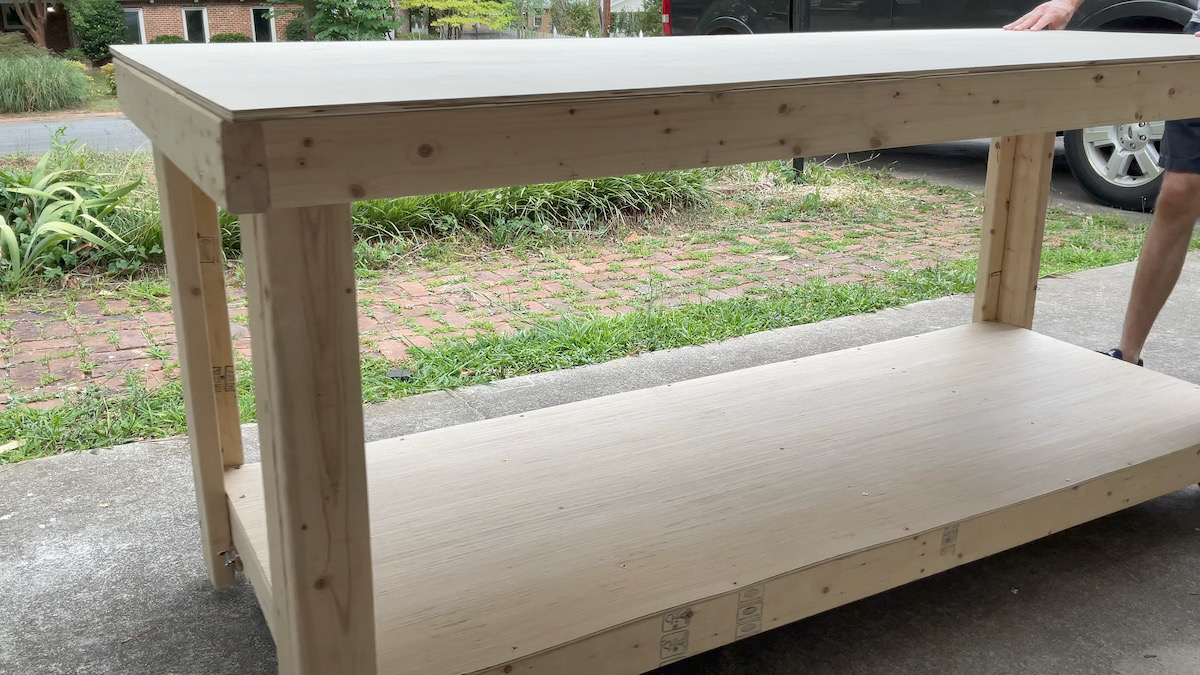
Easy 2x4 Workbench with Retractable Casters
Easily build a workbench using only 2x4s and plywood with some awesome DIY retractable casters.
Our garage was turning into a disorganized mess! That’s why, for the next few projects, I’m focusing on getting things organized and looking tidy. One of the biggest culprits of disorganization is our collection of garden tools.
In today’s tutorial I’ll show you how you can build a really easy, adjustable, and customizable garden tool storage system using french cleats.
I like to share scripture with each project I create, the verse I chose for this project is:
For it is by grace you have been saved, through faith - and this is not from yourselves, it is the gift of God - Ephesians 2:8 NIV
This project used about 1/2 of the sheet of plywood and also had a ton of leftover screws, so if you already have similar materials leftover from another project you could likely significantly reduce the cost of materials.
Total Project Cost: $91.90
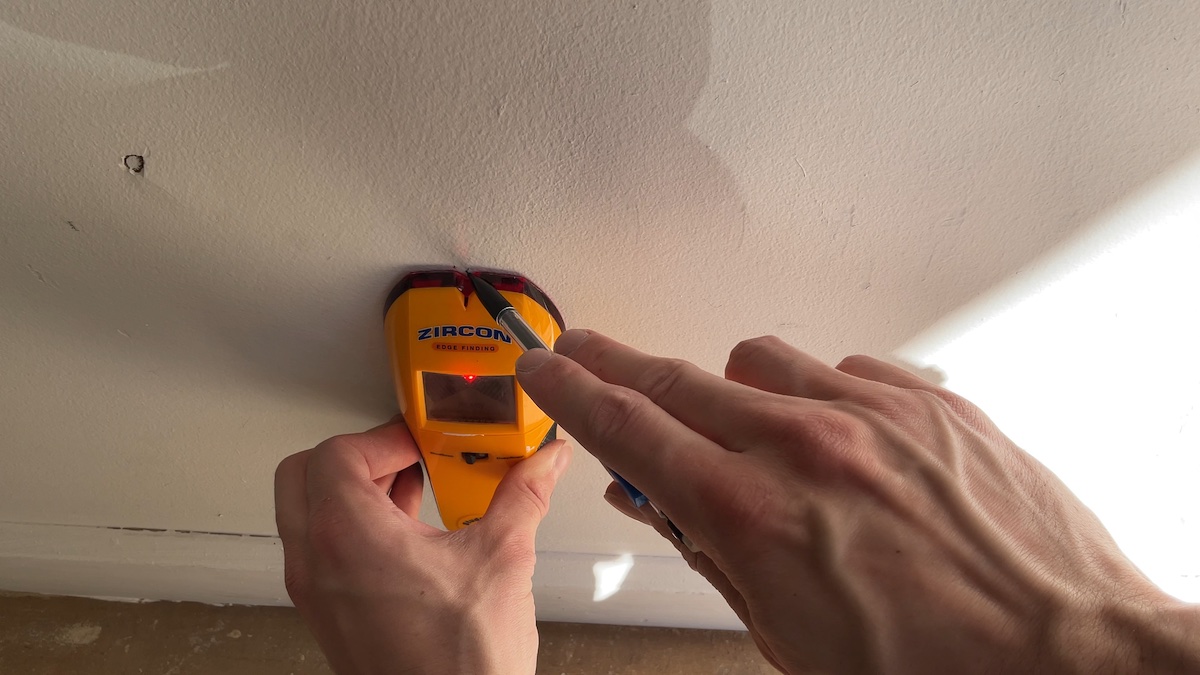
First, mark out the studs on the wall where you want to hang the tools using a stud finder.
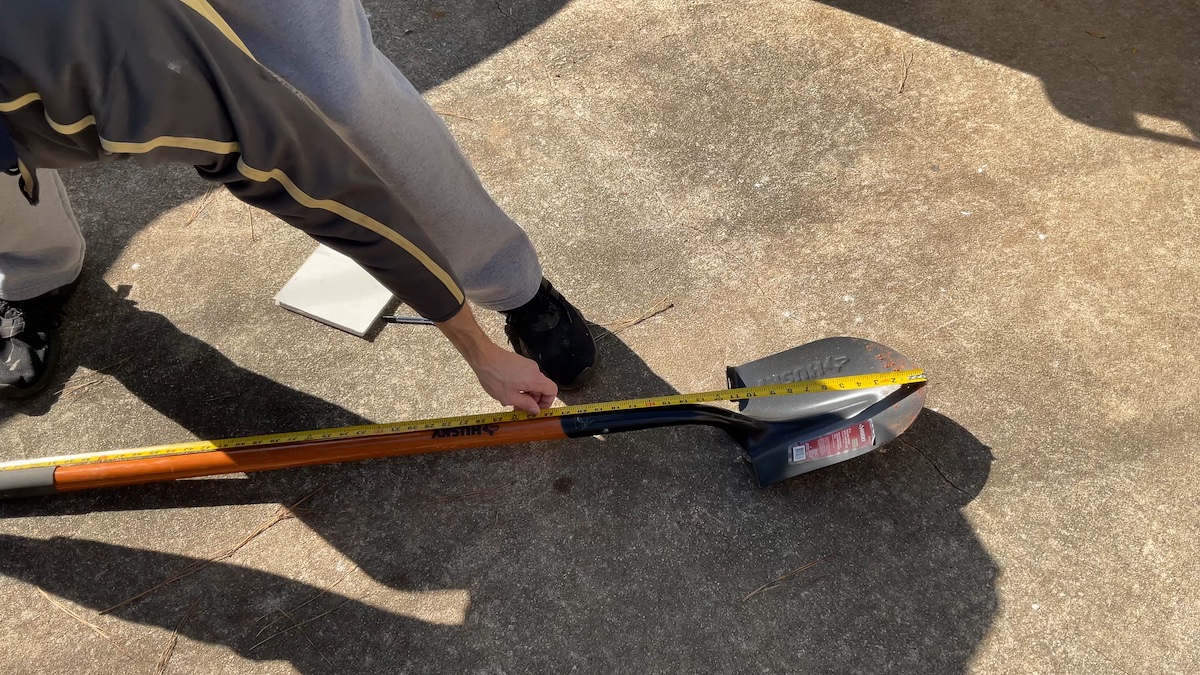
Next, measure the wall width and height and the length of your different tools. This will help you to determine the number of hooks needed and how many rows you will need.
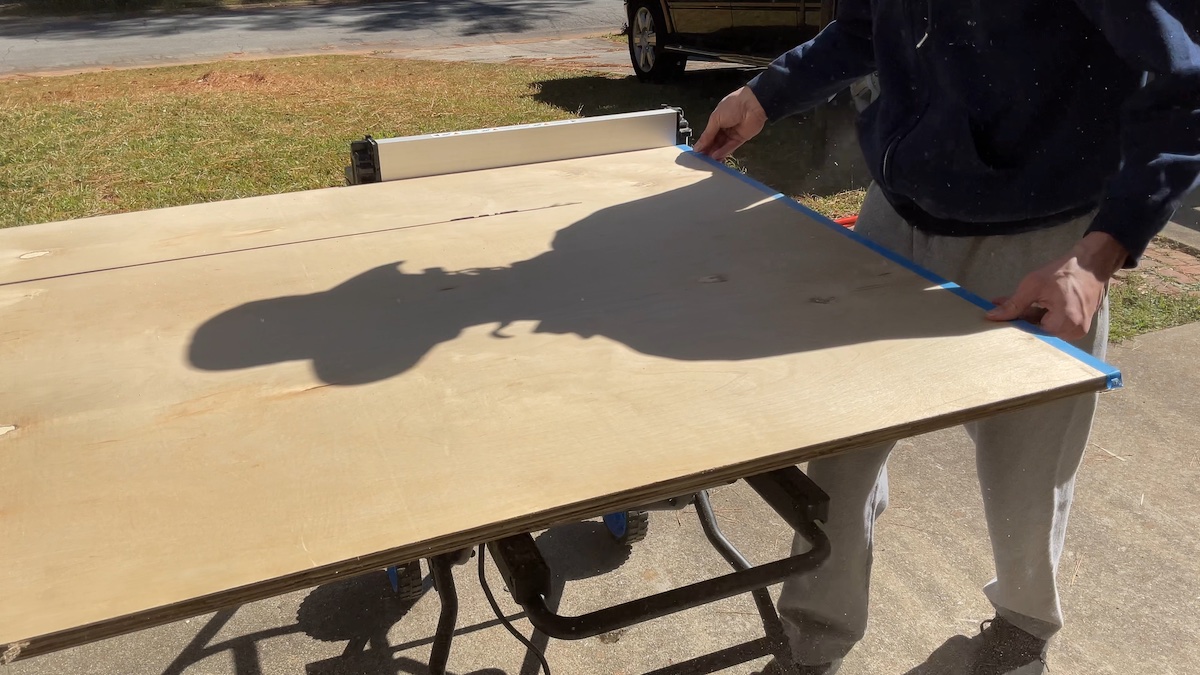
Cut your plywood to match the width of the wall. In my case, the wall space was approximately 7 ft. wide, so I cut 1 ft. off of the full sheet of plywood.
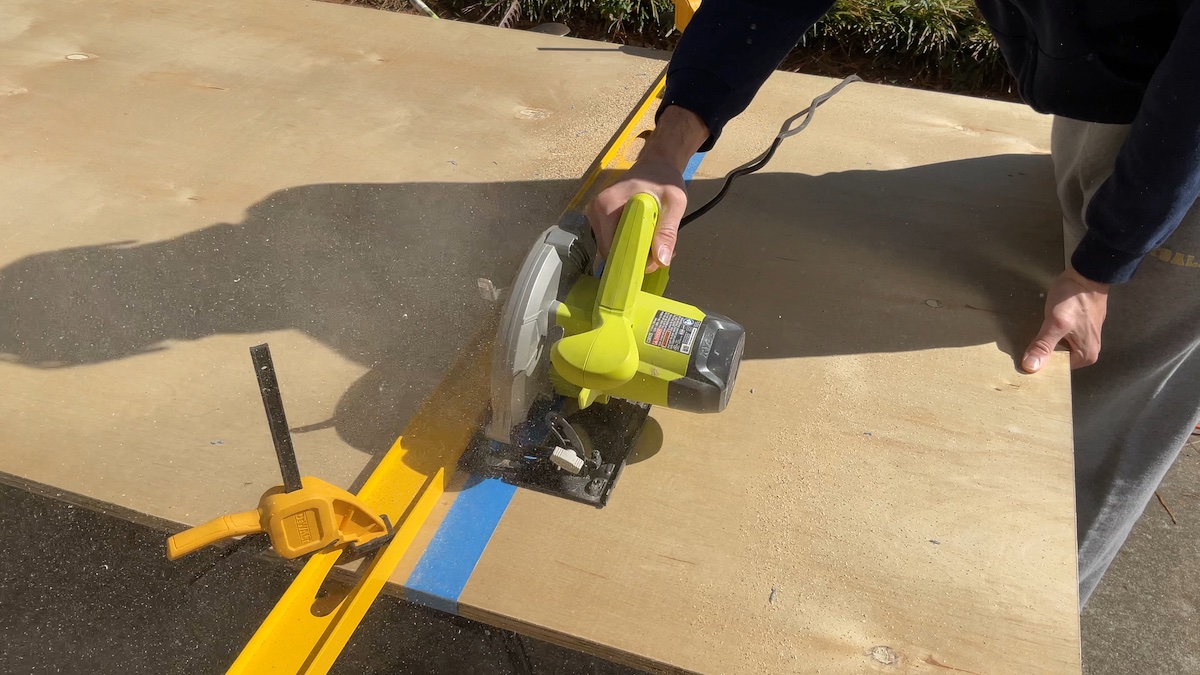
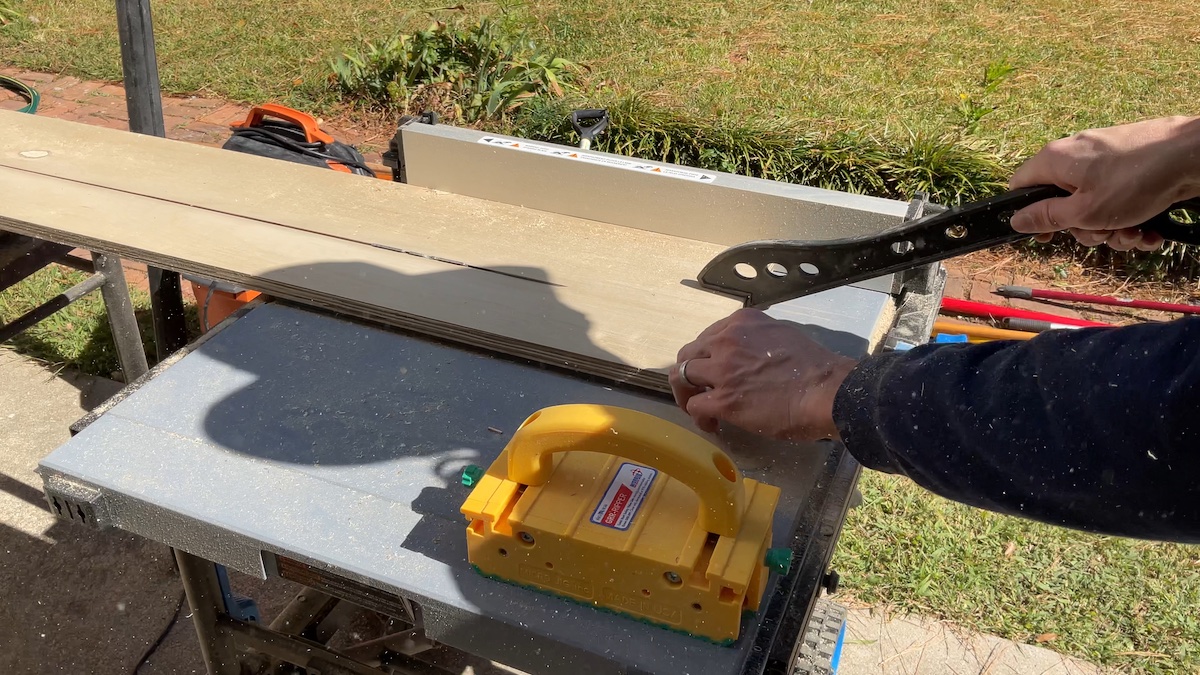
Rip your plywood into 9" strips. This can be done using either a table saw, a circular saw with a guide, or a tracksaw. Keey your blade at a 90 degree angle for these cuts.
Then, change the angle of your saw blade to 45 degree. Cut each 9" strip in half with the blade at a 45 degree angle. This will leave you with 10 4.5" wide strips cut at a 45 degree angle. These will serve as the cleats for the wall.
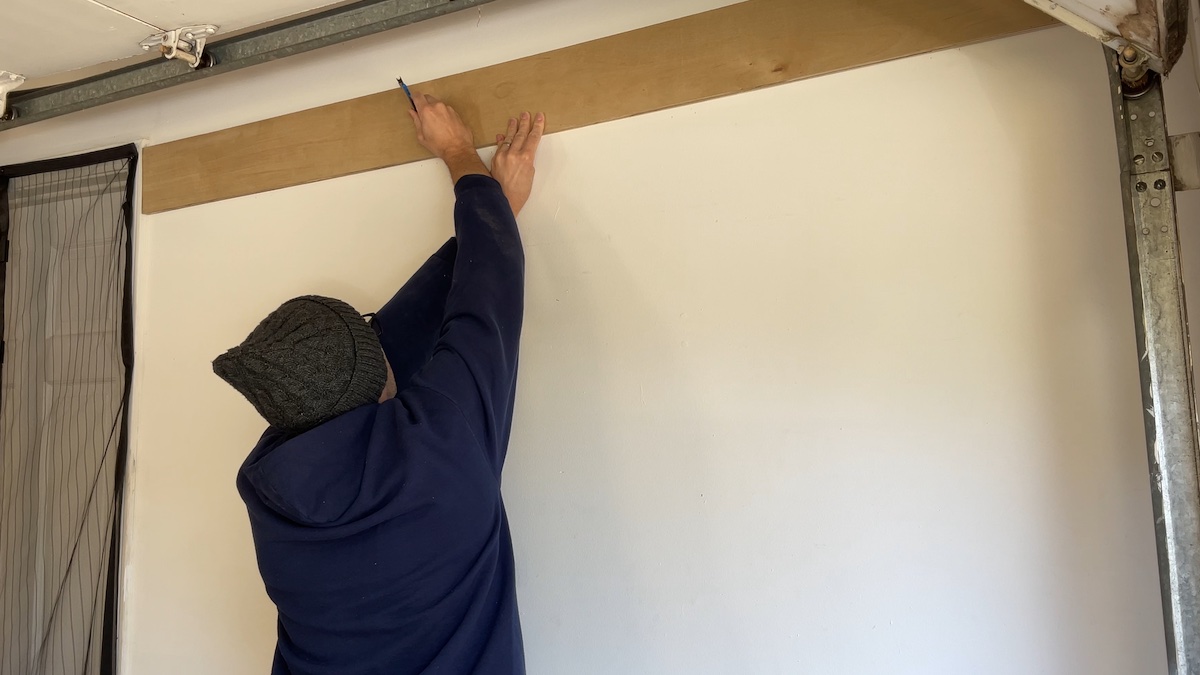
Mark the locations of the studs on the strips.
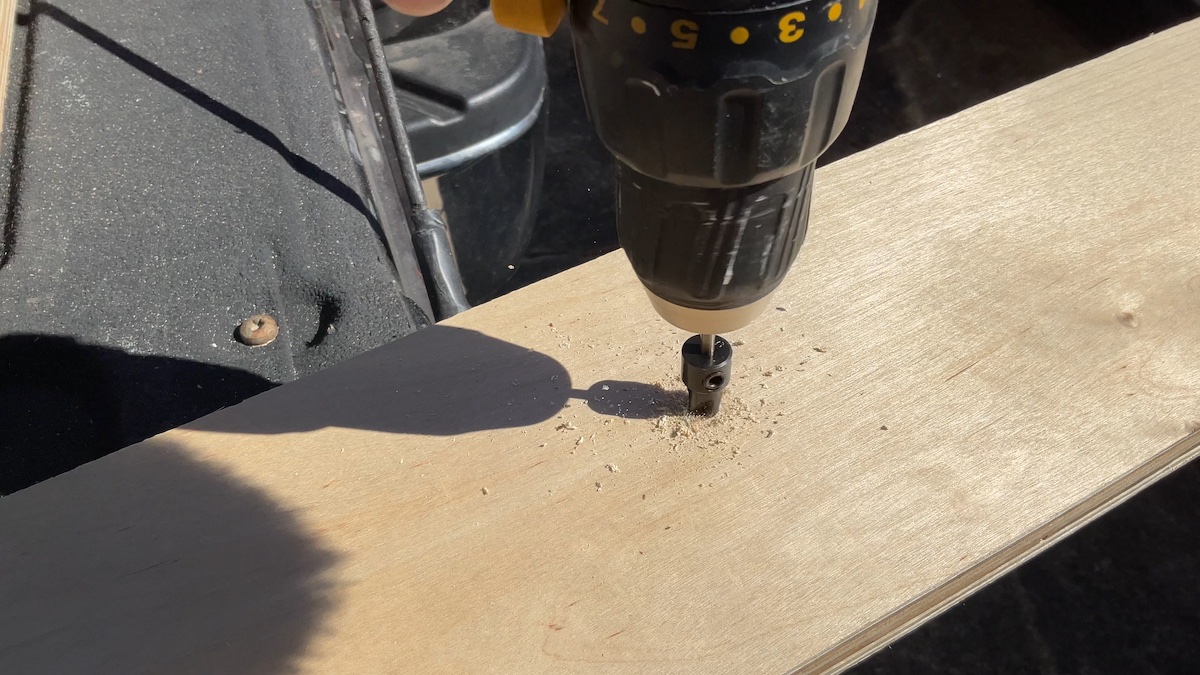
Pre-drill holes using the markings from the previous step. I recommend using a countersink bit in order to give the final product a clean appearance, as well as to avoid issues with the hangers sitting correctly. Make sure you drill on the long side!
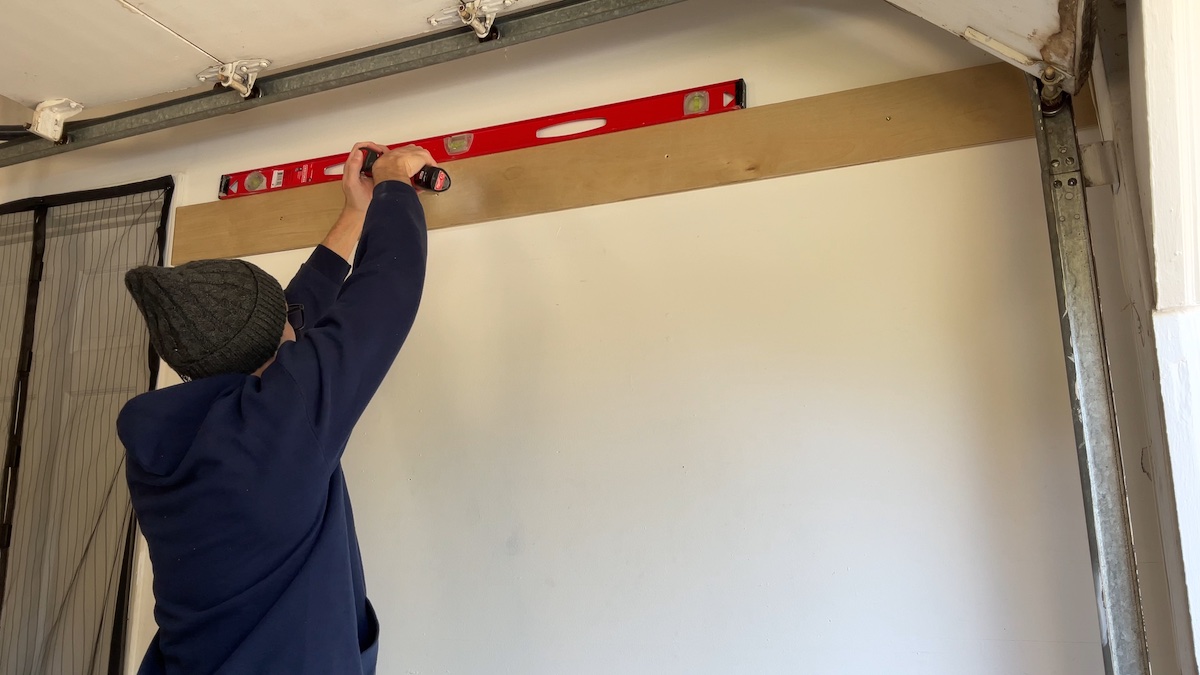
Line up your strip on the wall with the angle on top of the board slanting down towards the wall and use a level to ensure your piece is not crooked. Drive 2 1/2" wood screws through the countersunk holes into each stud. Repeat for each strip.
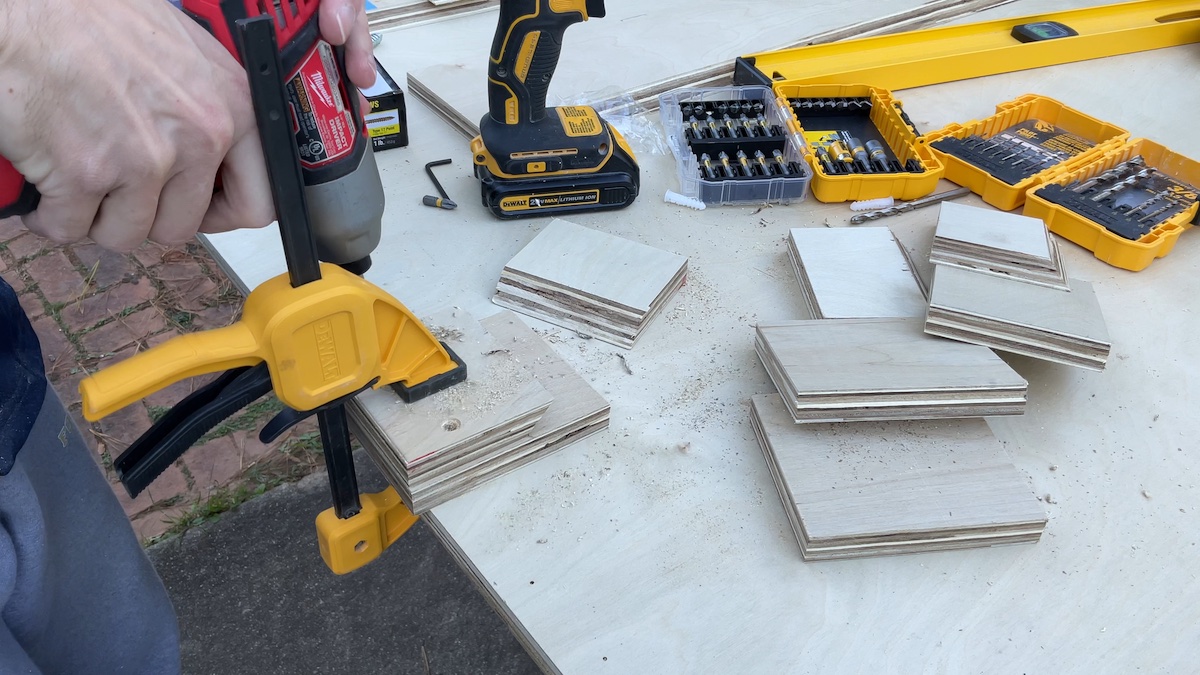
Next, it’s time to assemble our hanger pieces. Start by ripping the leftover plywood into a 5" strip. Cut this strip into 8 4" pieces. So you should end up with 8 pieces that are 4" x 5".
Take one of the long strips of plywood that is already cut at an angle and cut this into 8 4" pieces as well.

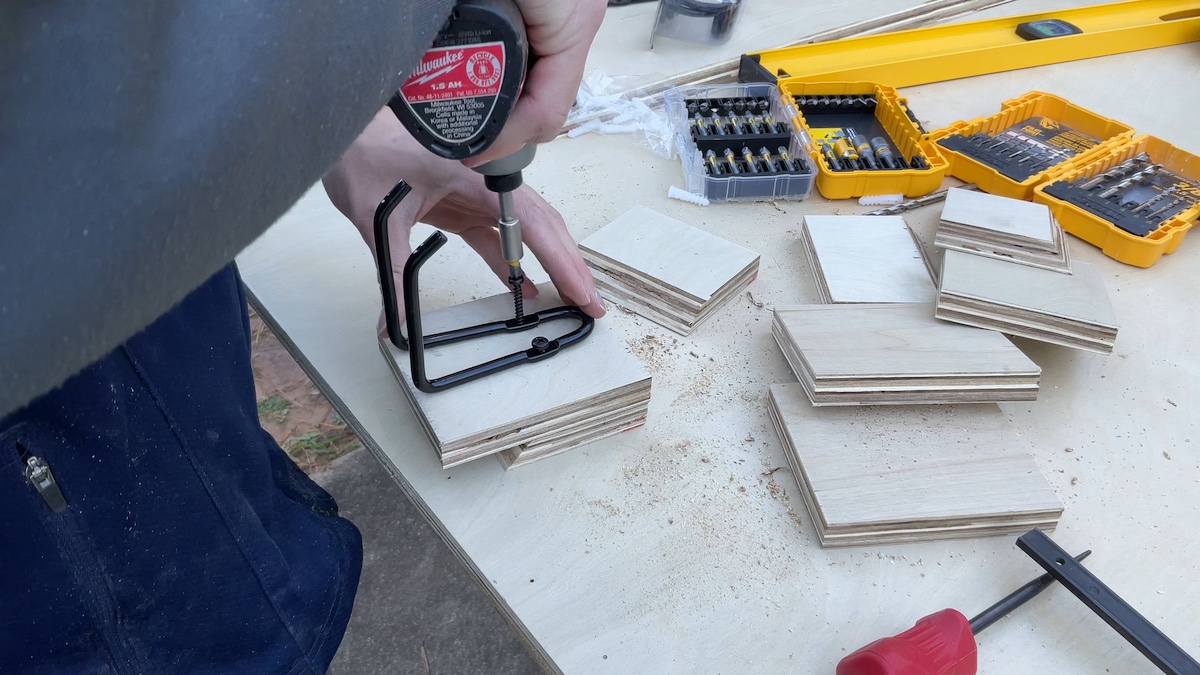
Pair each straight piece with an angled piece. Clamp the pieces together as shown, with the short side of the angled piece closest to the straight piece. Countersink and screw each pair together using 2 1 1/4" wood screws.
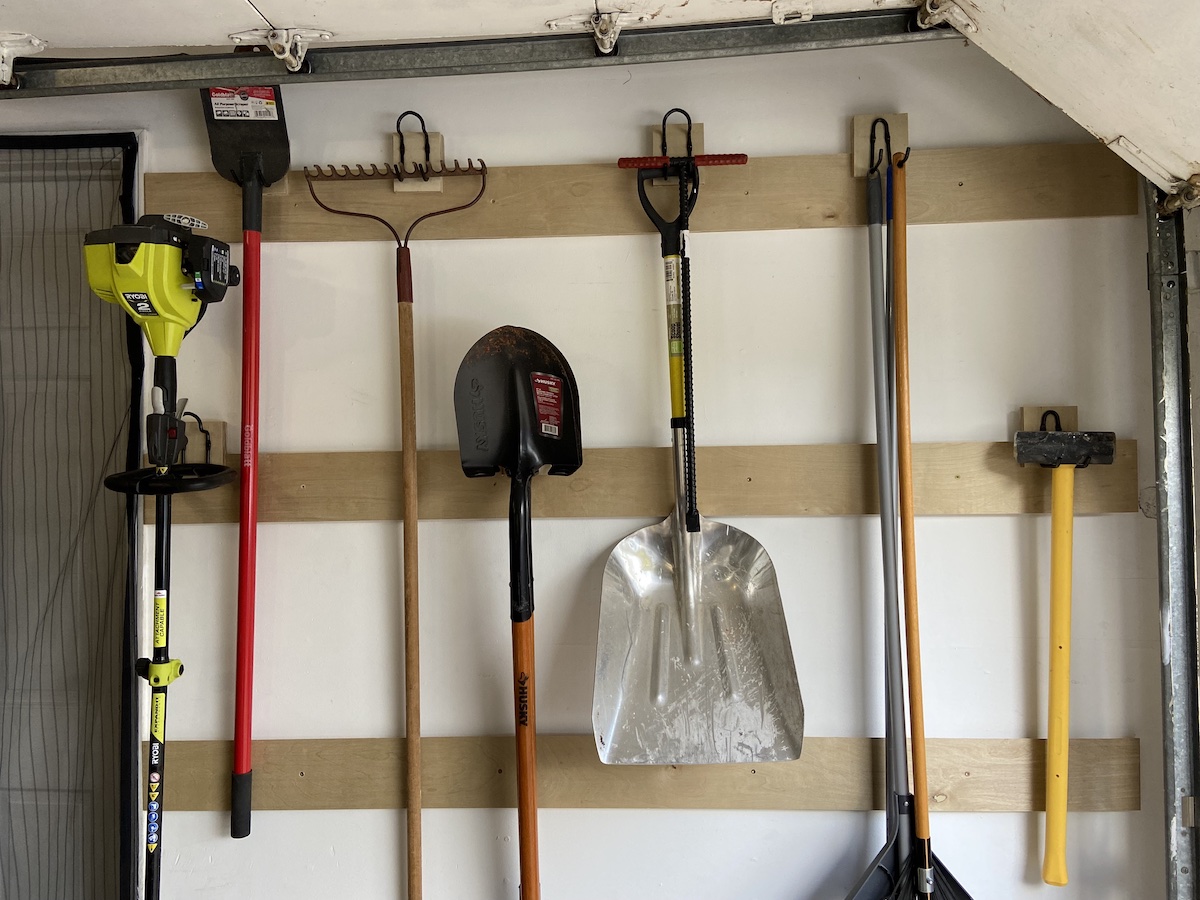
Flip the now-connected piece over and attach your hook. Next, hang this on the wall and attach your tools.
Now it’s time to hang your tools, enjoy your newly organized workshop space!
Thanks for checking out today’s project! I hope it helped you organize your garden tools more efficiently. If you enjoyed it, please check out some of my other projects. Be blessed!
Easily build a workbench using only 2x4s and plywood with some awesome DIY retractable casters.
These shelves are a simple, affordable garage storage project that will help get your space organized.
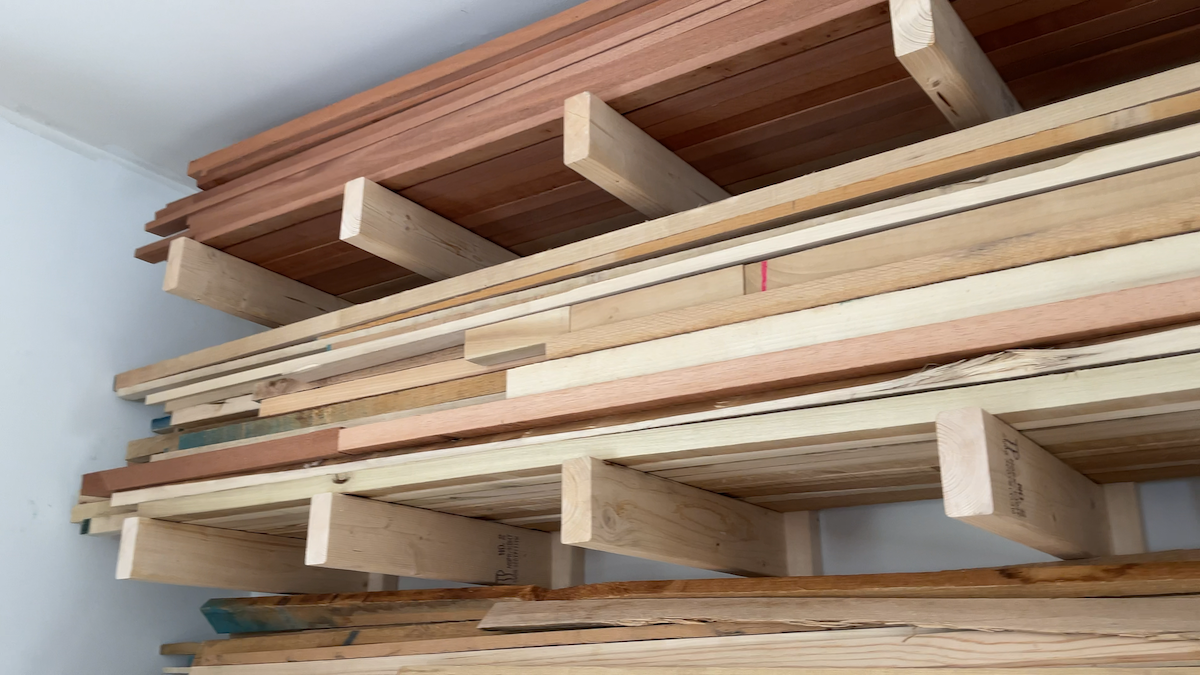
Create a simple, sturdy lumber rack using only 2x4s and screws.
