
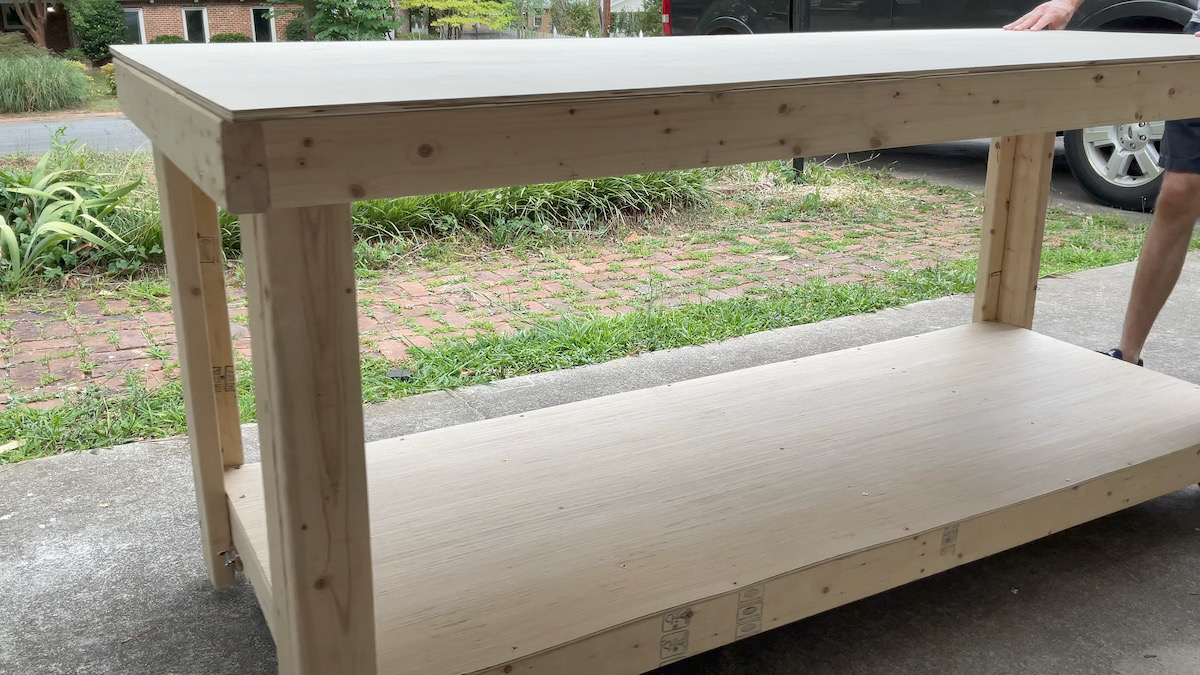
Easy 2x4 Workbench with Retractable Casters
Easily build a workbench using only 2x4s and plywood with some awesome DIY retractable casters.
If your garage or workshop is starting to overflow with scrap lumber, you’re not alone. Storing wood can quickly turn into a mess unless you have a dedicated space to keep everything organized. In this project, I’m going to walk you through how I built a super sturdy lumber rack using nothing more than standard 2x4s and screws. This project was inspired by Woodshop Diaries - please be sure to check out her build as well!
This project is affordable, beginner-friendly, and can be customized to any wall space you have available.
Note: this post contains affiliate links. See website policies
I like to share scripture with each project I create, the verse I chose for this project is:
He saved us, not because of works done by us in righteousness, but according to His own mercy, by the washing of regeneration and renewal of the Holy Spirit, whom He poured out on us richly through Jesus Christ our Savior, so that being justified by His grace we might become heirs according to the hope of eternal life. - Titus 3:5-7
Total Project Cost: $45.78
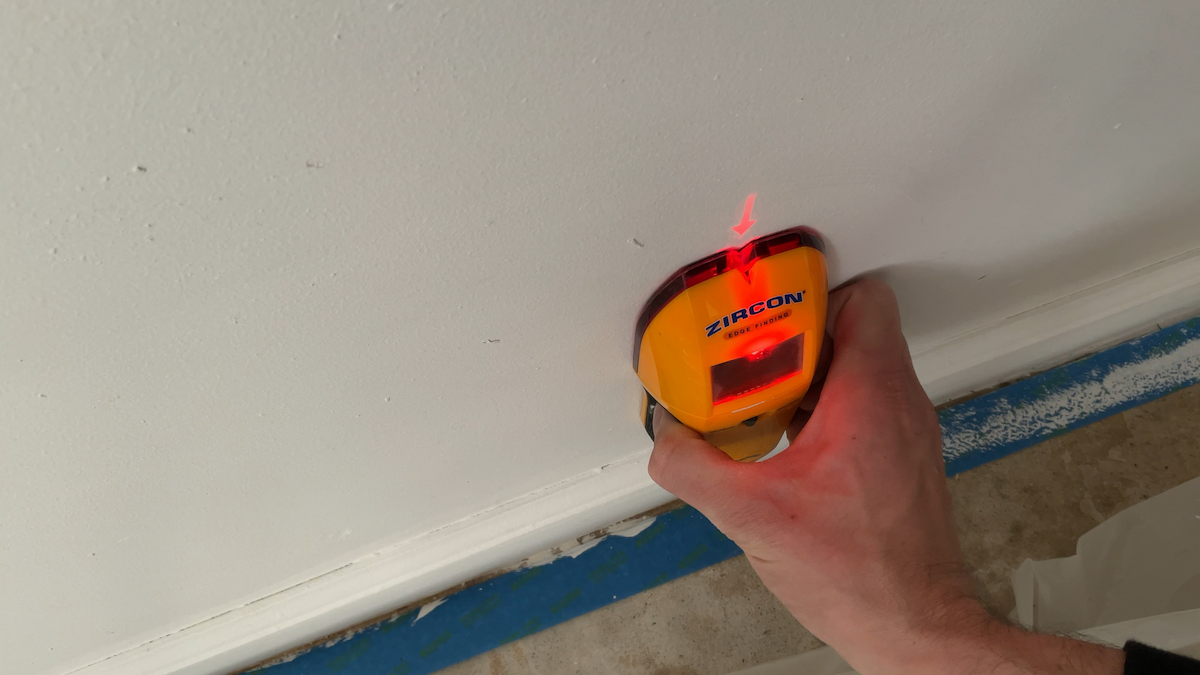
Before building anything that will hold significant weight, the first step is to locate your wall studs.
Since lumber can be very heavy, you never want to rely on drywall anchors. Using a stud finder, mark out each stud clearly, and use these marks to secure your shelves later. This ensures your rack will be safe, solid, and long-lasting.
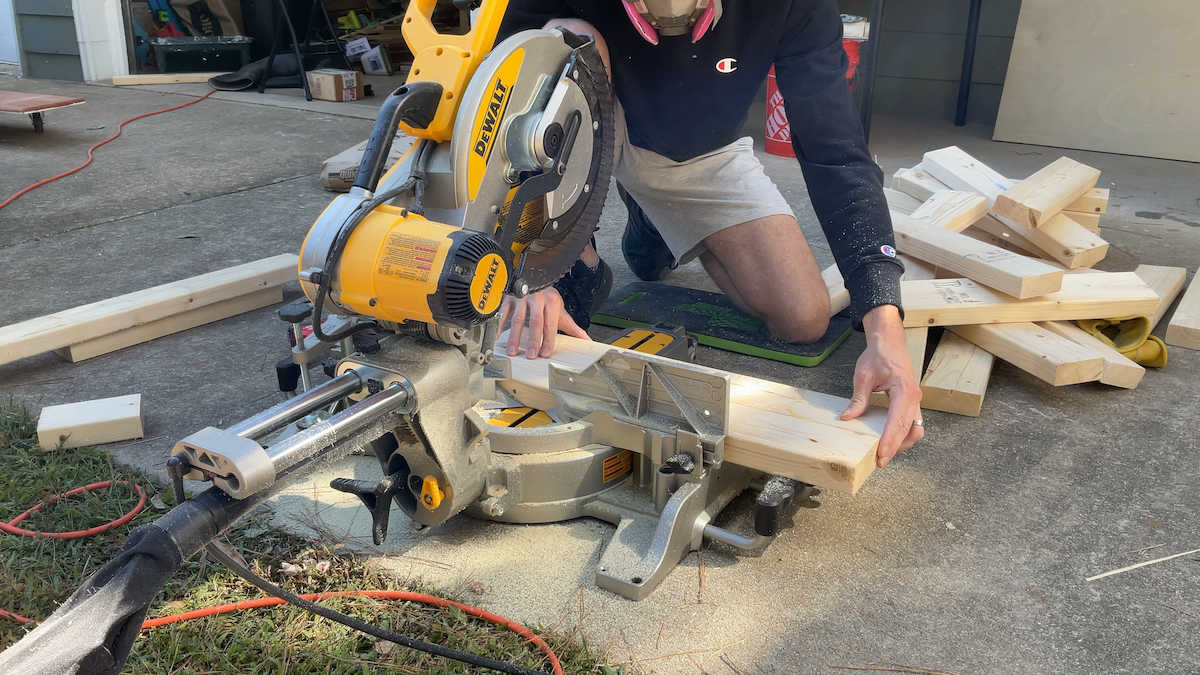
Once your studs are marked, it’s time to cut the wood.
For this project, I cut half of my 2x4s into 18-inch pieces. These would later become the shelf arms that support the weight of the lumber.
After that, I set aside a 14-inch scrap piece of 2x4. This wasn’t a structural piece, but it was helpful later on as a spacer to properly determine the gap between each shelf. Using a consistent spacer ensures all shelves remain evenly separated and will prevent warping that could occur if your shelf supports don’t line up and wood is stored on them.
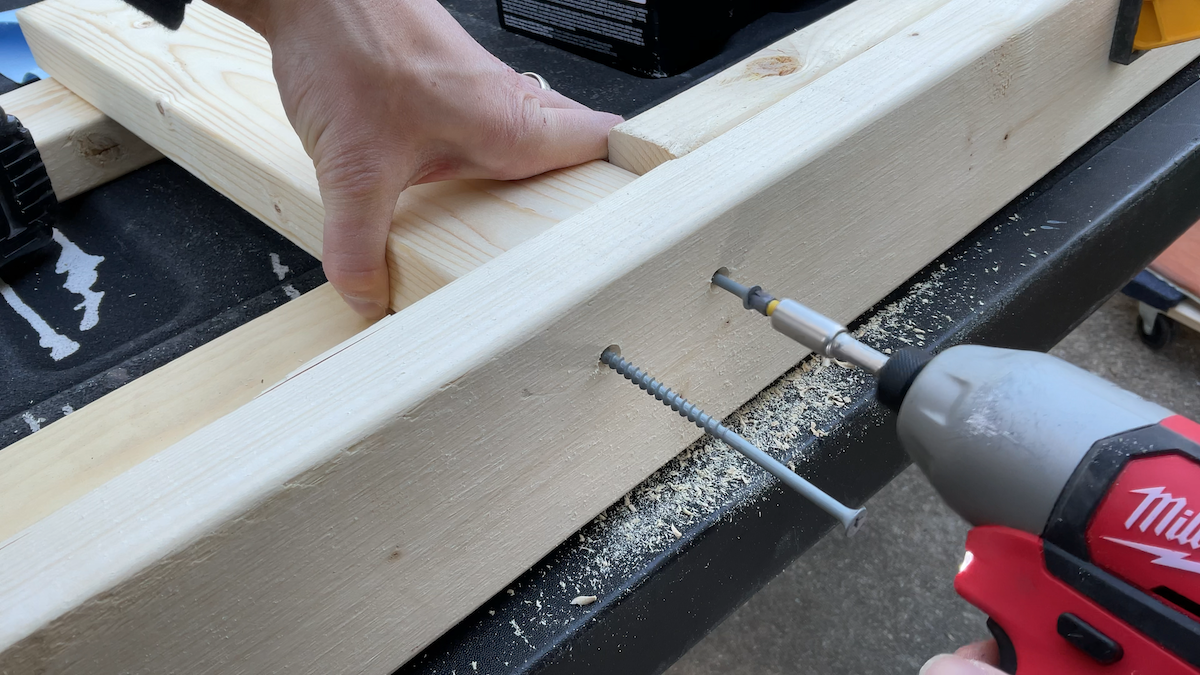
Next, it was time to put the shelf brackets together.
I took each 18-inch piece and attached it to a full-length 2x4 using four-inch wood screws. To avoid splitting the wood, I pre-drilled and countersunk every screw hole. This ensured each bracket sit flush against the wall.
With the help of the 14-inch spacer, I attached each shelf support at consistent intervals. This kept everything evenly spaced and was much easier than measuring each gap repeatedly.
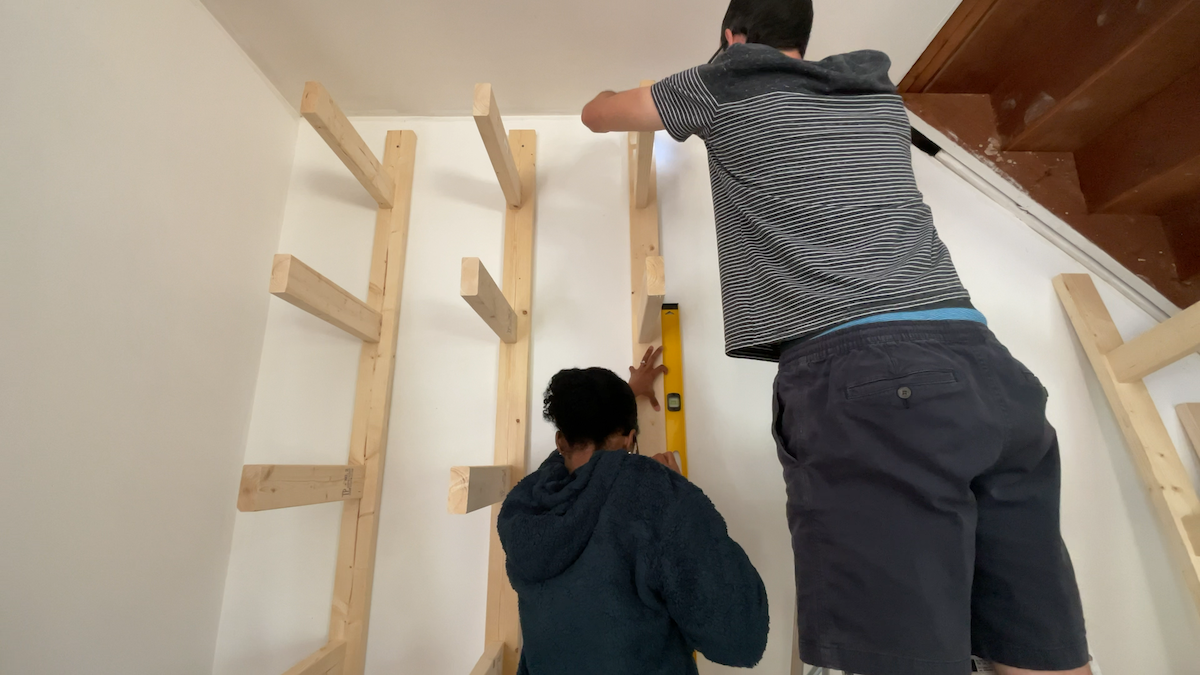
With all the shelf sections assembled, it was time to mount everything onto the studs I marked earlier.
This part required a lot of leveling and double-checking. You want your rack to be level both vertically and horizontally. One thing to note is that your studs may not be perfectly level, so be sure to use a level to confirm.
Once everything was aligned, I drove four-inch screws through the shelves and into the studs. After securing each shelf, the structure was sturdy and has proven to be reliable over time.
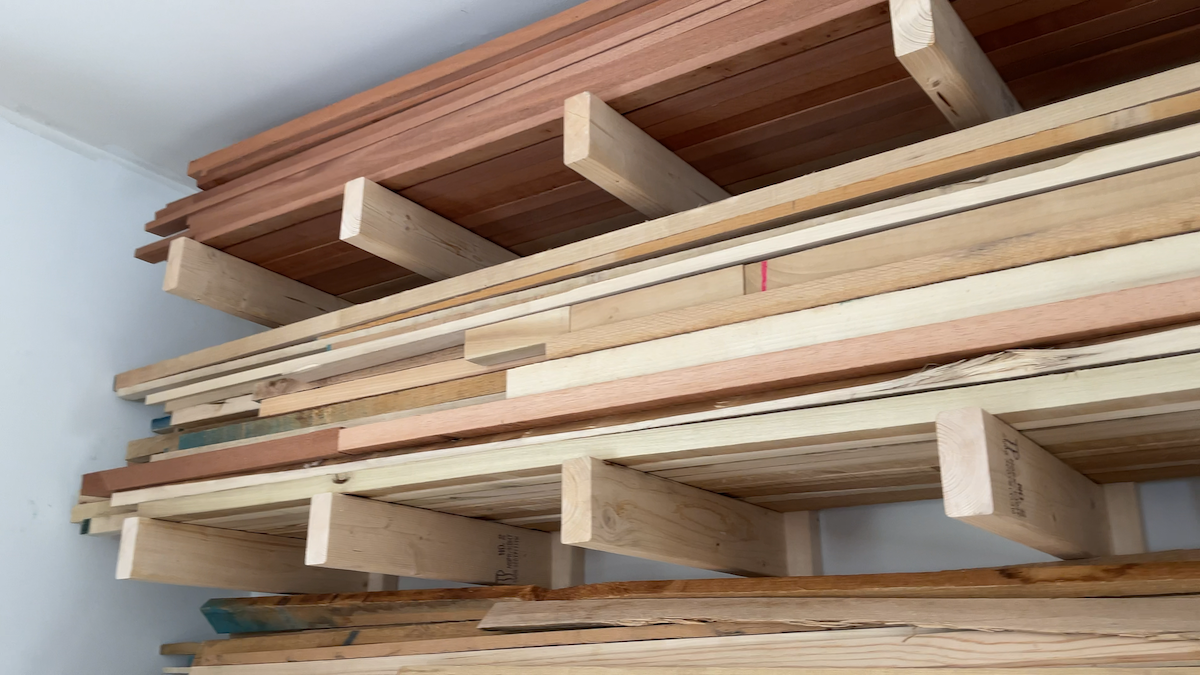
With the rack fully secured, I got to the fun part: organizing my scrap lumber.
This process took a while, about four hours, because I wanted it to be neatly arranged and grouped by type and size. Even with the weight of heavy hardwood pieces, the shelves held up extremely well and have not sagged even after years of use.
Seeing the garage floor clear up as the lumber shifted onto the rack made the entire project worth it.
Overall, I’m very happy with how this turned out. The structure is extremely sturdy, it holds a significant amount of weight, and has greatly improved my garage organization.
If you’ve been needing a simple way to store lumber without breaking the bank, this is a fantastic project to try. It doesn’t require advanced tools or carpentry skills, just a little time and effort.
I hope you enjoyed following along with this build! If this project inspired you or you learned something new, be sure to subscribe my YouTube channel so you can see more projects like this in the future.
Thanks for reading, and I’ll see you in the next project!
Easily build a workbench using only 2x4s and plywood with some awesome DIY retractable casters.
These shelves are a simple, affordable garage storage project that will help get your space organized.
Build an easy and affordable garden tool storage system for your garage/shed using french cleats.
