One of my wife and I’s favorite places in our home is the kitchen. It’s the centerpiece of conversation and whenever we have guests, it seems that everyone naturally gravitates to this space of the house. So we wanted to have an island that was going to add character to the space but also complement the white aesthetic of the cabinets. Butcher block turned out to be a great option, and today I’ll show you how to cut, sand, finish, and install a butcher block slab and save tons of money doing it yourself.
I like to share scripture with each project I create, the verse I chose for this project is:
Rejoice always, pray continually, give thanks in all circumstances; for this is God’s will for you in Christ Jesus. - 1 Thessalonians 5:16-18
The Tools I Used
- Circular Saw | Ryobi Circular Saw
- Random Orbital Sander | Dewalt Random Orbital Sander
- Drill | Dewalt Drill
- Trim Router | Makita Trim Router
- Tape Measure | Milwaukee Tape Measure
- Clamps | Dewalt Clamps
- Rafter Square | Rafter Square
- Straight Edge | An angle iron, level, or straight board will all work for this
The Materials I Used
- Butcher Block Countertop (we found ours at a local lumber store, but name-brands such as Home Depot and Lowes sell these as well)
- Metal Brackets (reccomended if your countertop is designed to overhang the edge)
- #8 1 1/2" pan-head wood screws
- 3/16 x 1 1/4" washers
- Varathane Water-Based Polyurethane
Approximate Total Project Cost: $225
Step by Step
Step 1
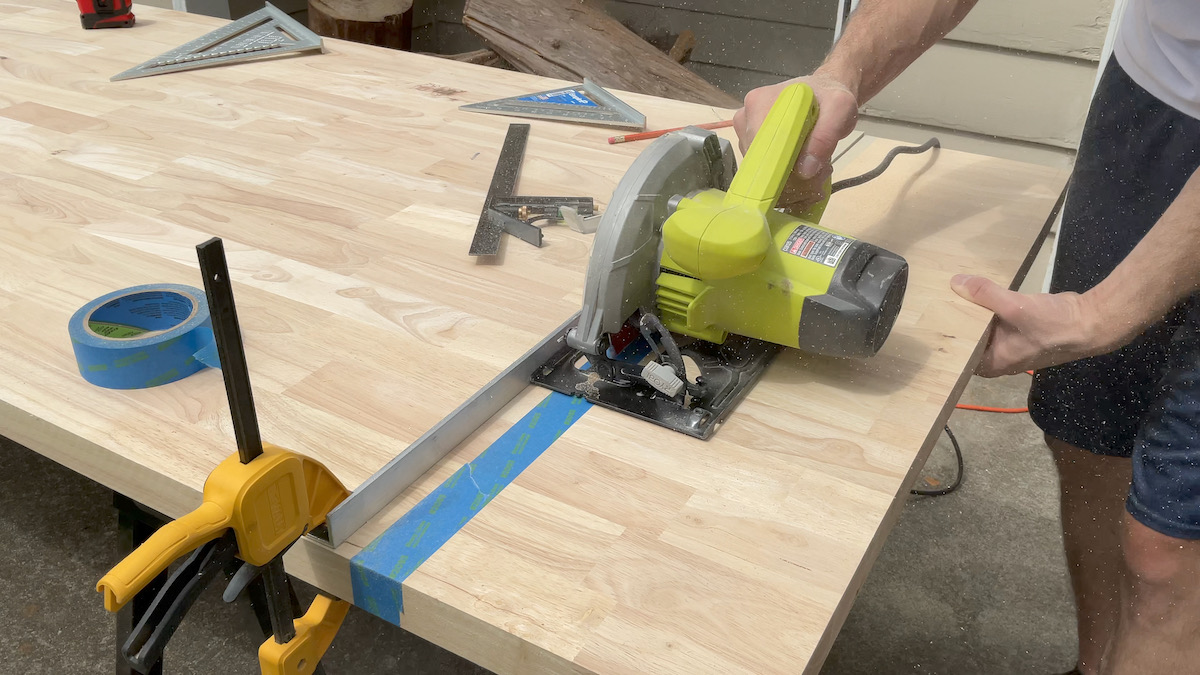
Measure and cut your countertop to size using a track saw or circular saw and a straight edge. Be sure to account for a slight overhang if your countertop will be going over cabinets, this will ensure that the countertop is flush with or protruding further than the cabinets and will prevent things from accidentally spilling into the top of the cabinets or drawers.
Step 2
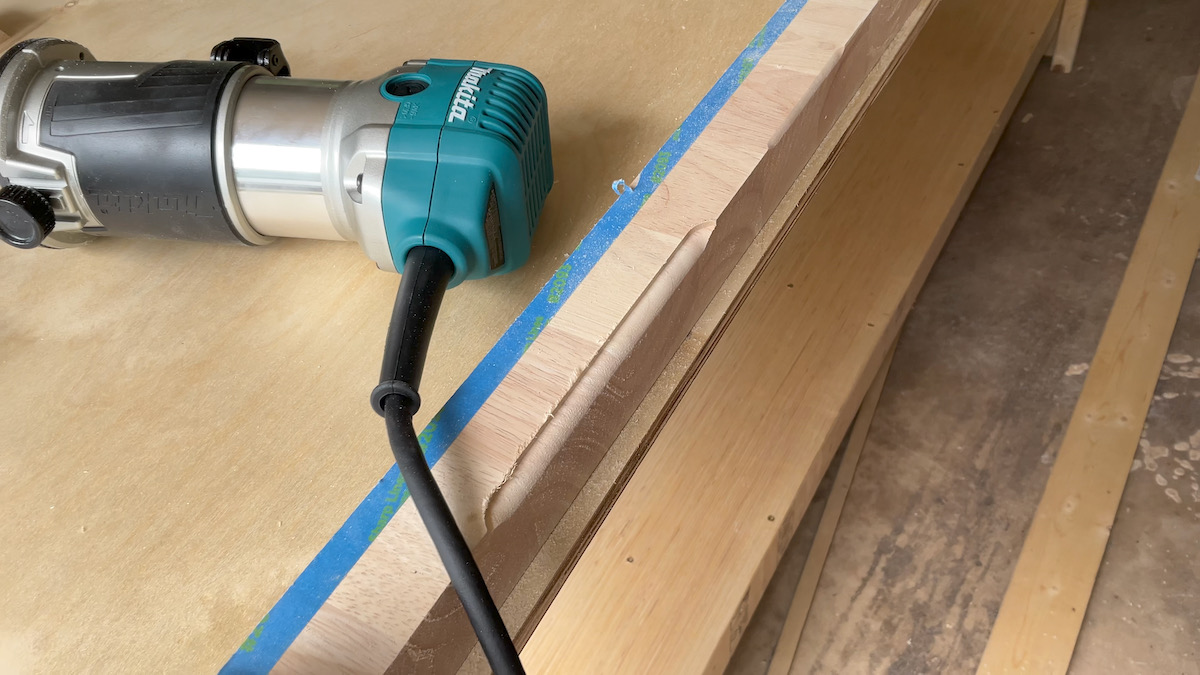
If you have a router, I highly recommend testing a few different bits and depths to see what type of edge profile you like best using the piece you cut off in the first step.
If you don’t have a router, you can skip this step and use your sander to create a rounded edge, it will just take a little bit more effort.
Step 3
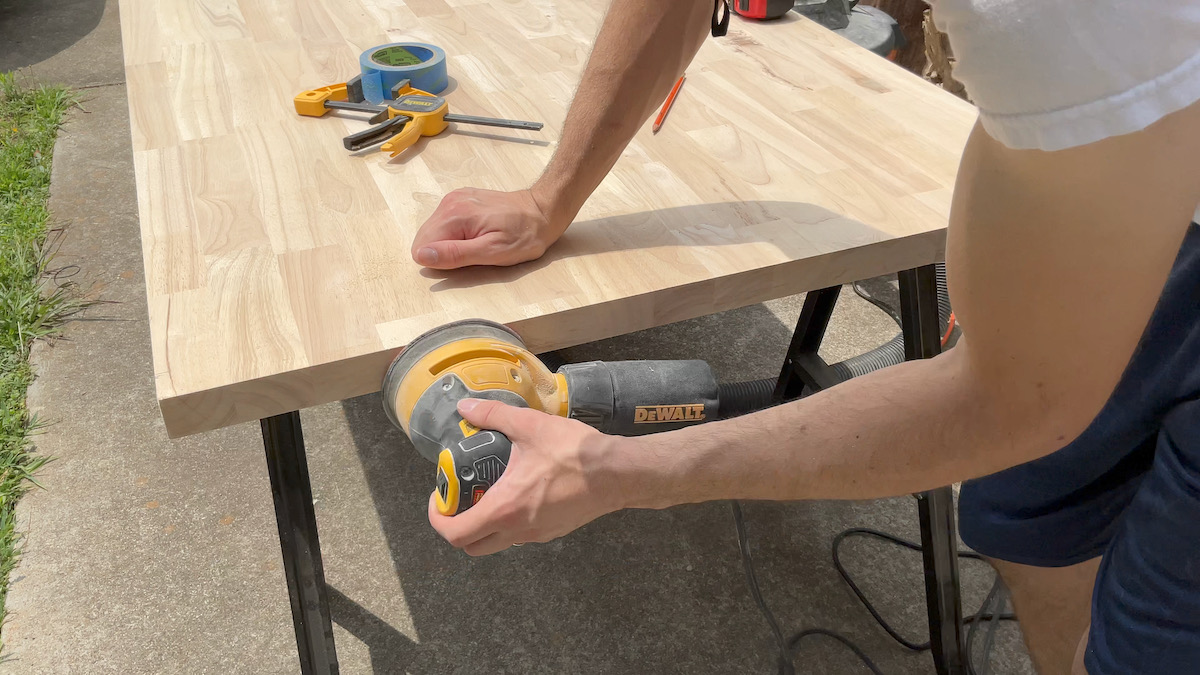
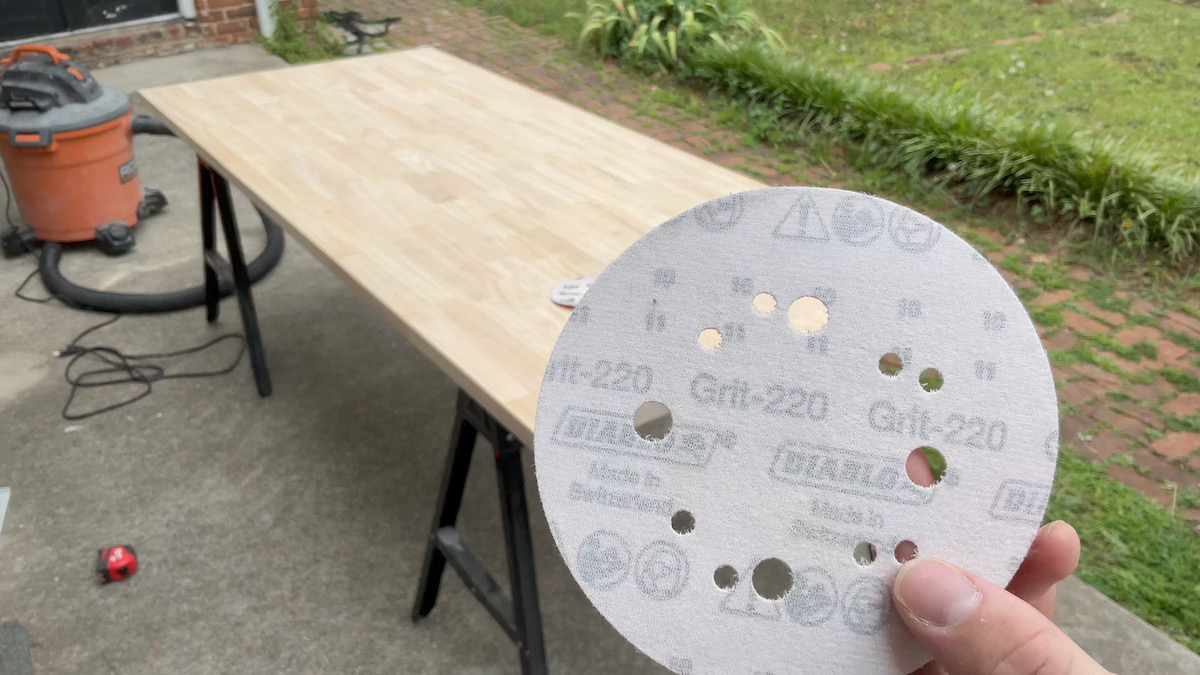
Sand the entire surface and edges of the countertop, starting with 80 grit and then working your way up to 220 grit.
Step 4
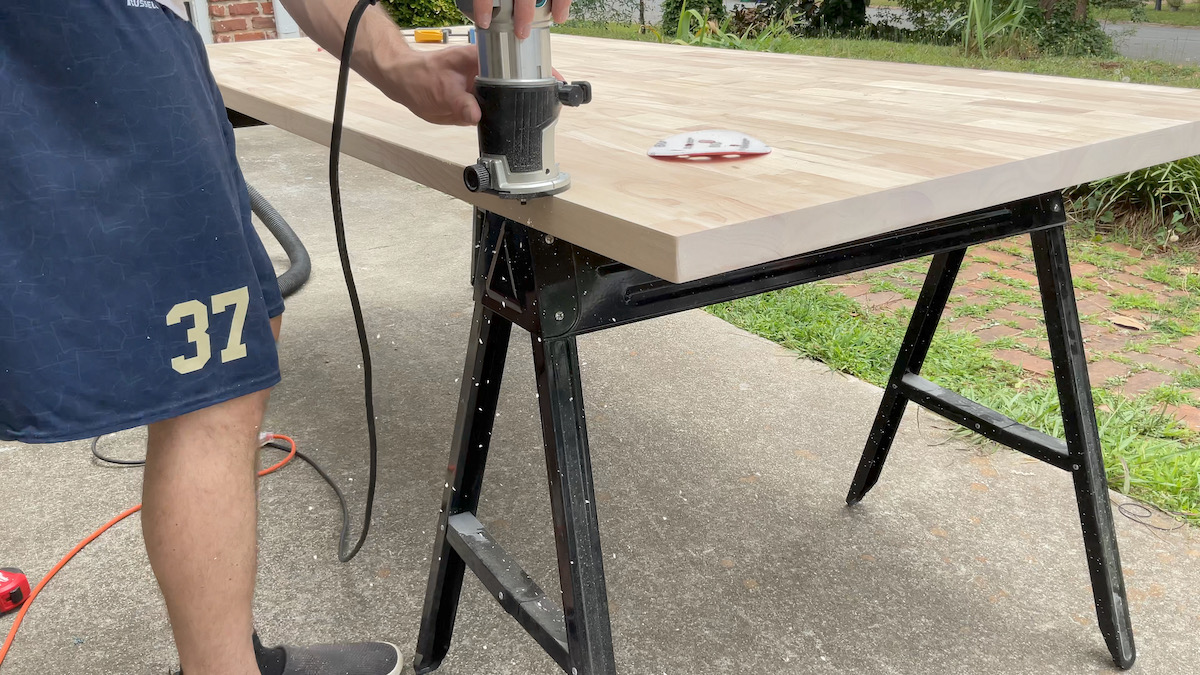
Using your trim router, create your desired edge profile on the edges and corners of the countertop.
If you don’t have a router, you can use your sander to create a similar effect.
Step 5
Using 220 grit sandpaper, lightly sand over the areas that were just trimmed using the router until this area feels smooth to the touch.
Step 6
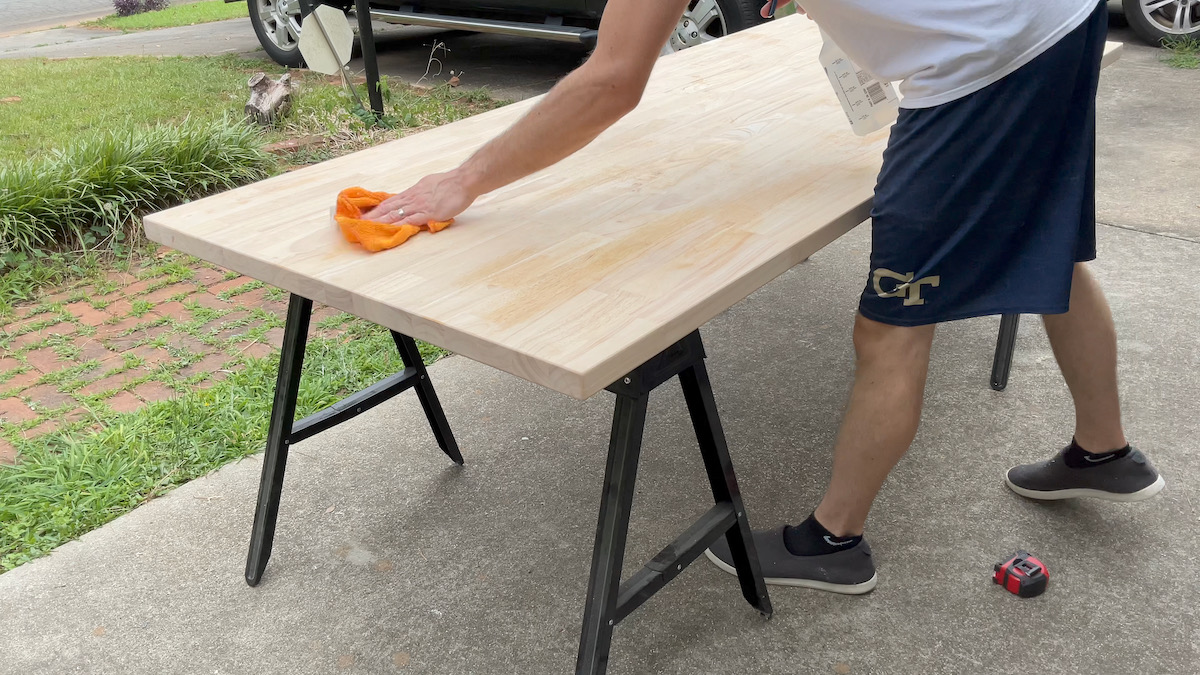
Raise the grain on the countertop surface by wiping a damp rag across the surface, it shouldn’t require much water but just enough for the countertop surface to start to feel a little rough.
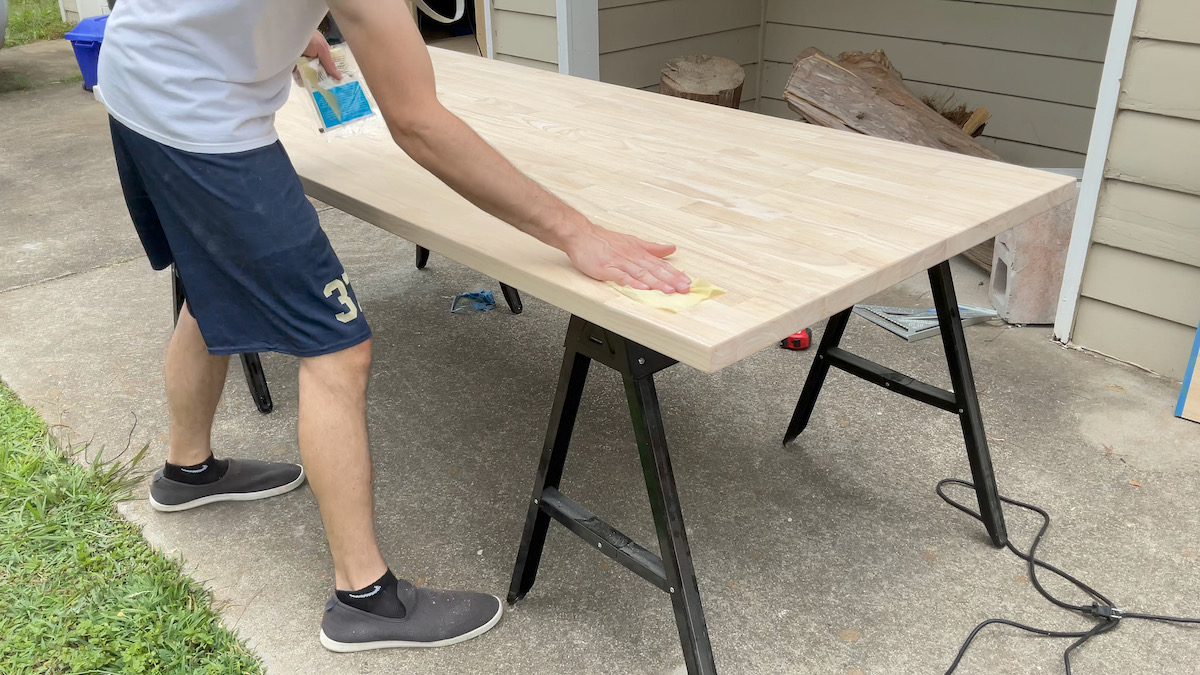
Once the surface has dried, sand (again!) using 220 grit sandpaper. Sand until the surface of the countertop feels smooth.
Step 7
Wipe the surface of the countertop off thoroughly using a tack cloth.
Step 8
It’s time to finish the countertop! There are a lot of different options available, and I recommend testing them out on the scrap cutoff before making a decision. Initially, I wanted to use a butcher block oil, but my wife was convinced that we should use the polyurethane. Guess who won that debate!?!
In all seriousness, after testing it out, we ended up liking that the polyurethane didn’t change the natural wood tone in the same way that a lot of butcher block oils do.
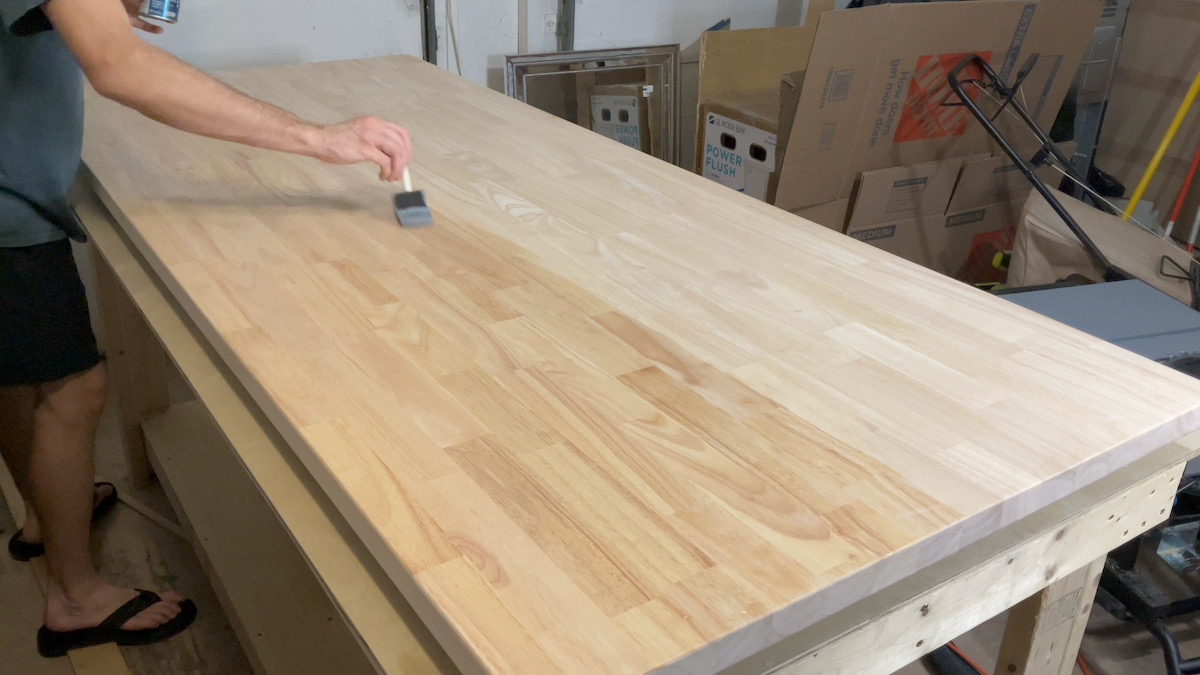
Apply 5 coats of polyurethane to the surface of the countertop, sanding lightly between coats if any additional grain raise occurs. We used a Varathane Water-Based Polyurethane and were very pleased with the results.
Step 9
Because the countertop is made from wood, we wanted to be sure to address the possibility of wood movement. If you aren’t familiar with this concept, essentially all this means is that with changes in temperature and humidity, wood expands and contracts. If you don’t account for this when securing your countertop, there is a risk that it could warp or split over time.
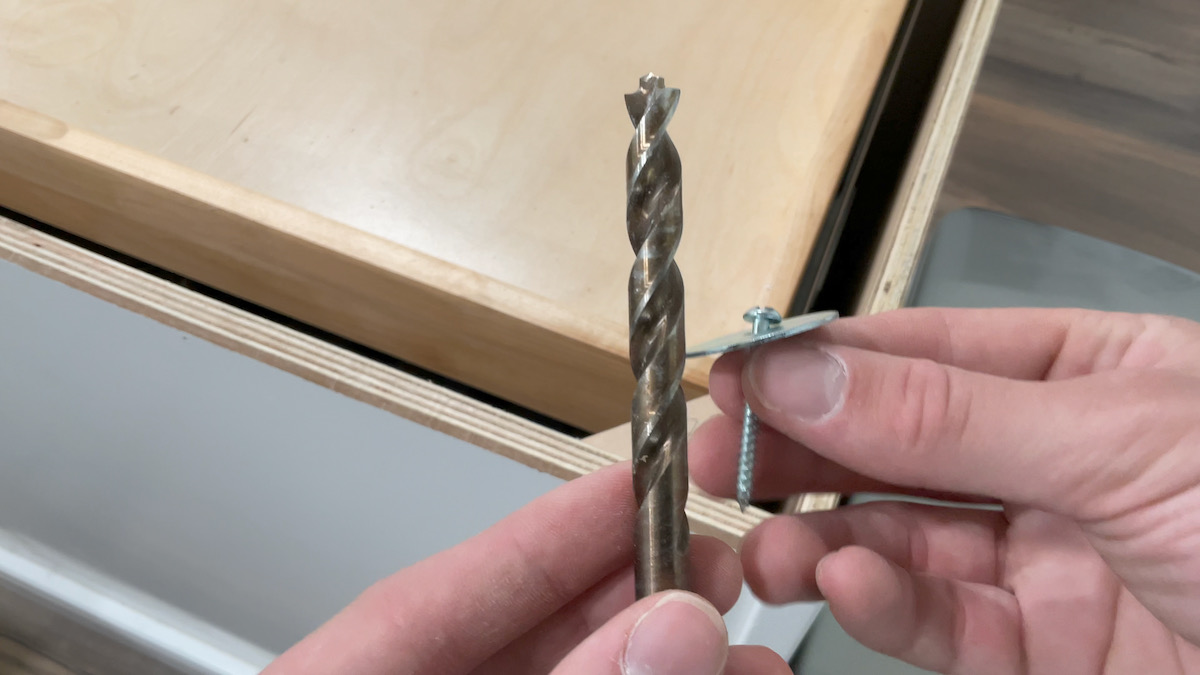
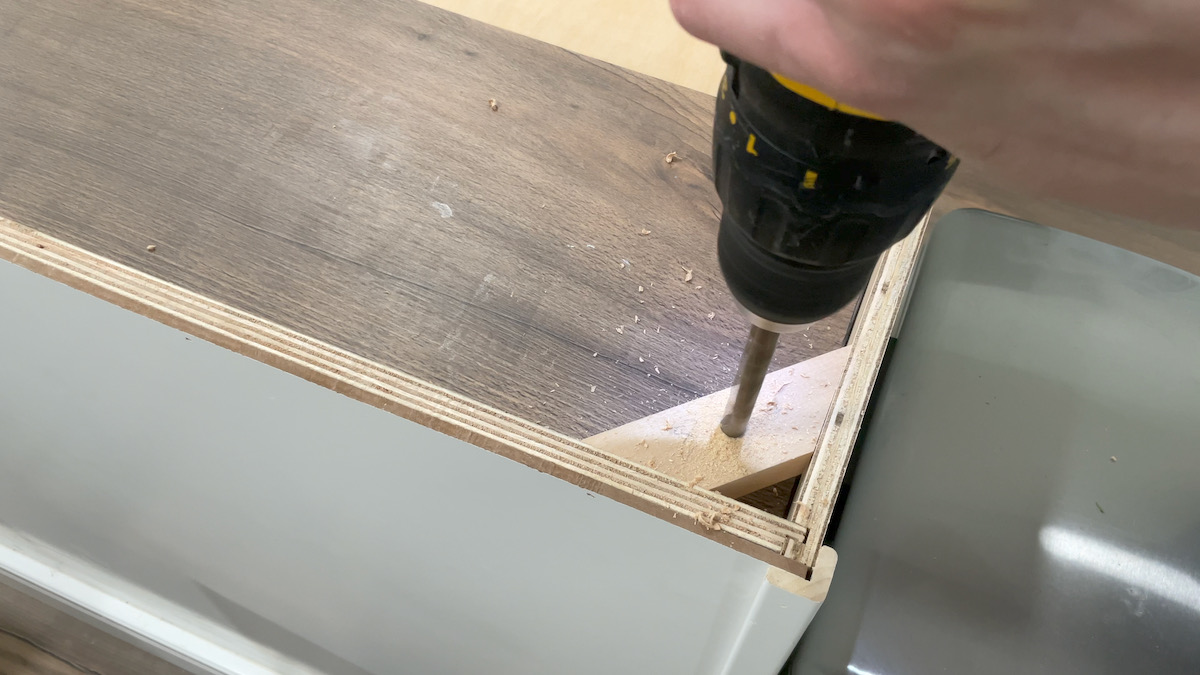
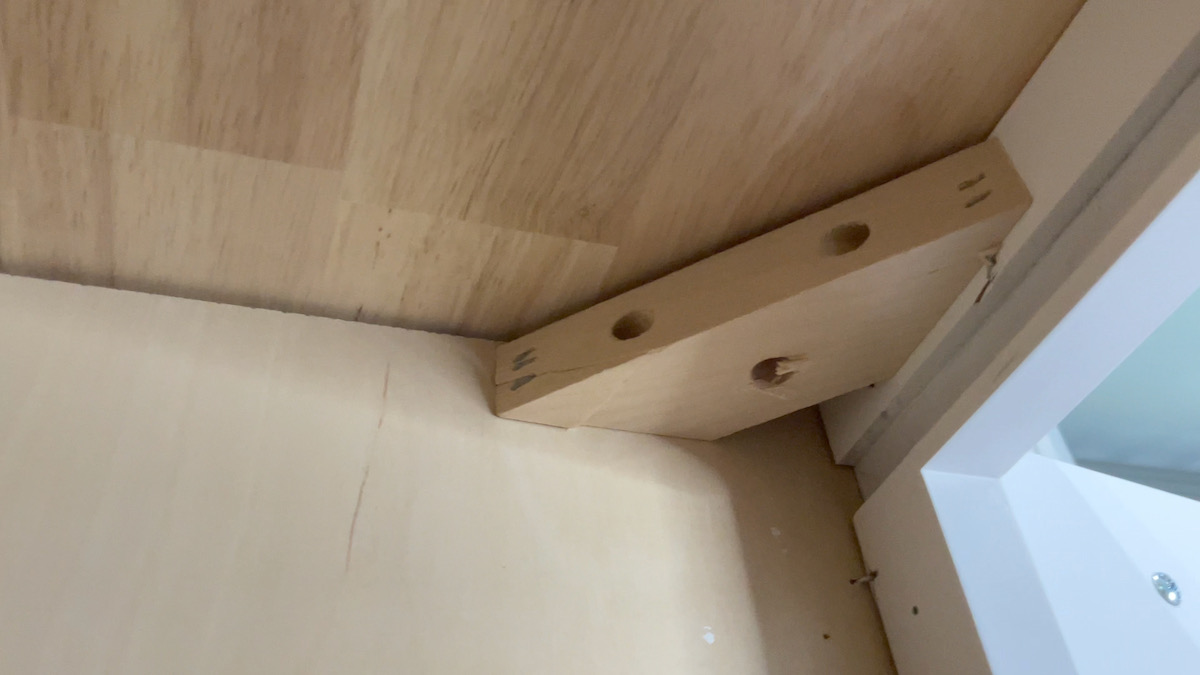
The way that we addressed this was by drilling a much larger hole in the cabinet corner braces than the size of the screw. This will allow for the countertop to expand and contract while moving within the larger hole.
Step 10
Drill holes in the corner braces of your cabinets.
Step 11
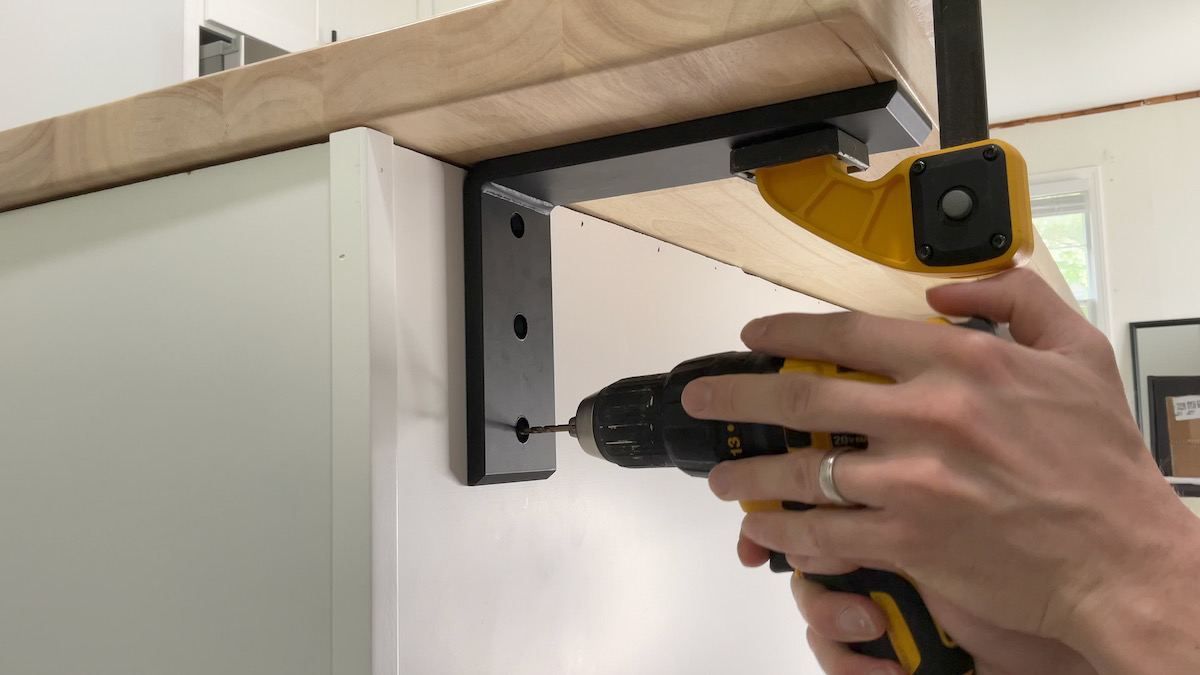
Our countertop has an overhang designed as seating for stools. Due to this overhang, we also added brackets to support the countertop overhang. We got ours lined up and pre-drilled holes through the cabinets.
Step 12
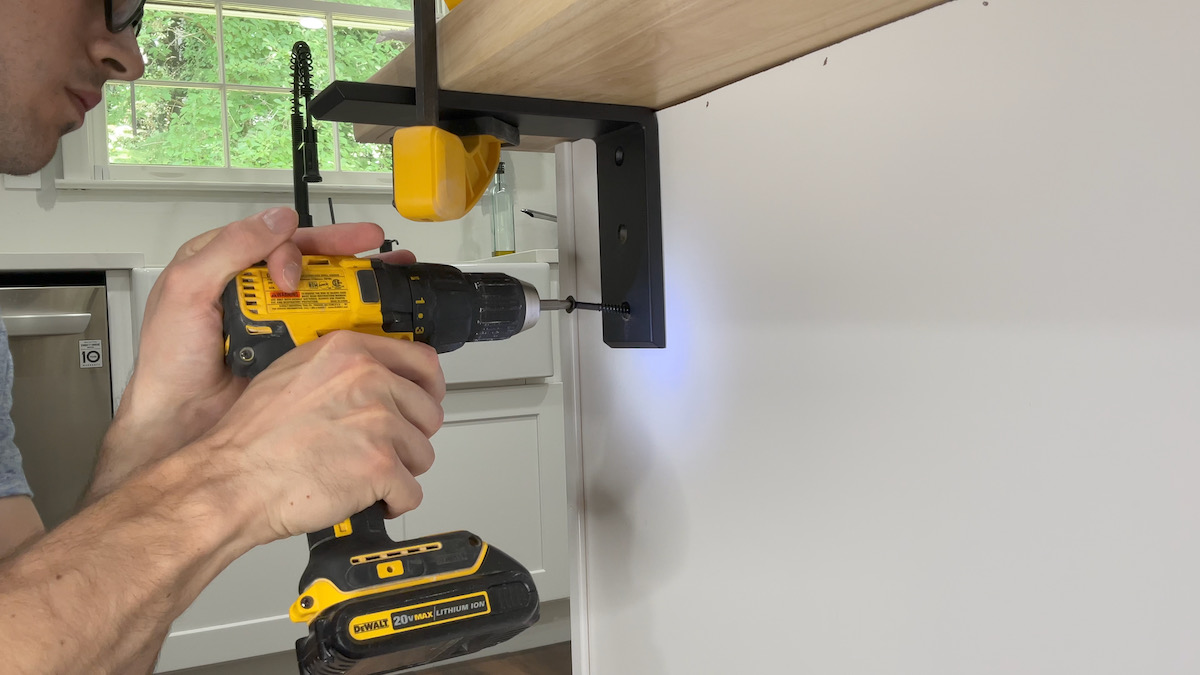
If you are using a bracket, go ahead and install it using the screws included. Because our cabinets are made from plywood, we ended up having to add a piece of 2x4 behind the location of the brackets to allow the screws to have something to bite into.
Step 13
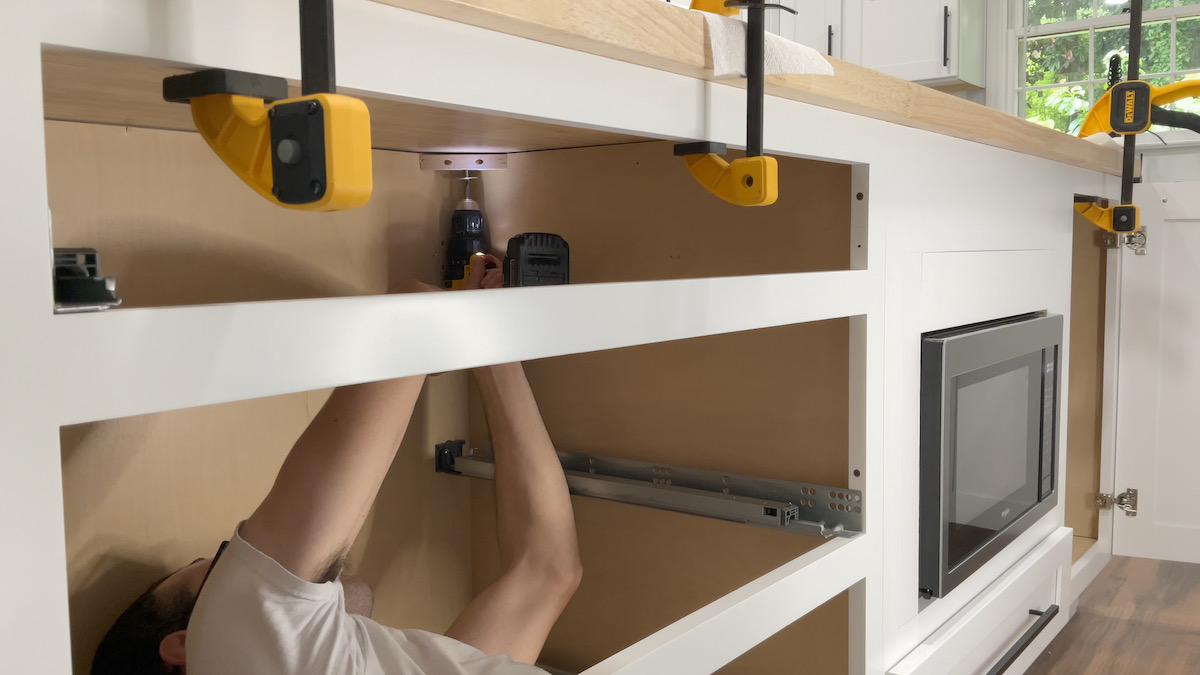
Now that the brackets are all in place, align your countertop how you want it to be secured and clamp it into place to ensure that it doesn’t shift while you secure it with screws.
If you look under the countertop, it should now look like the photo below.
Step 14
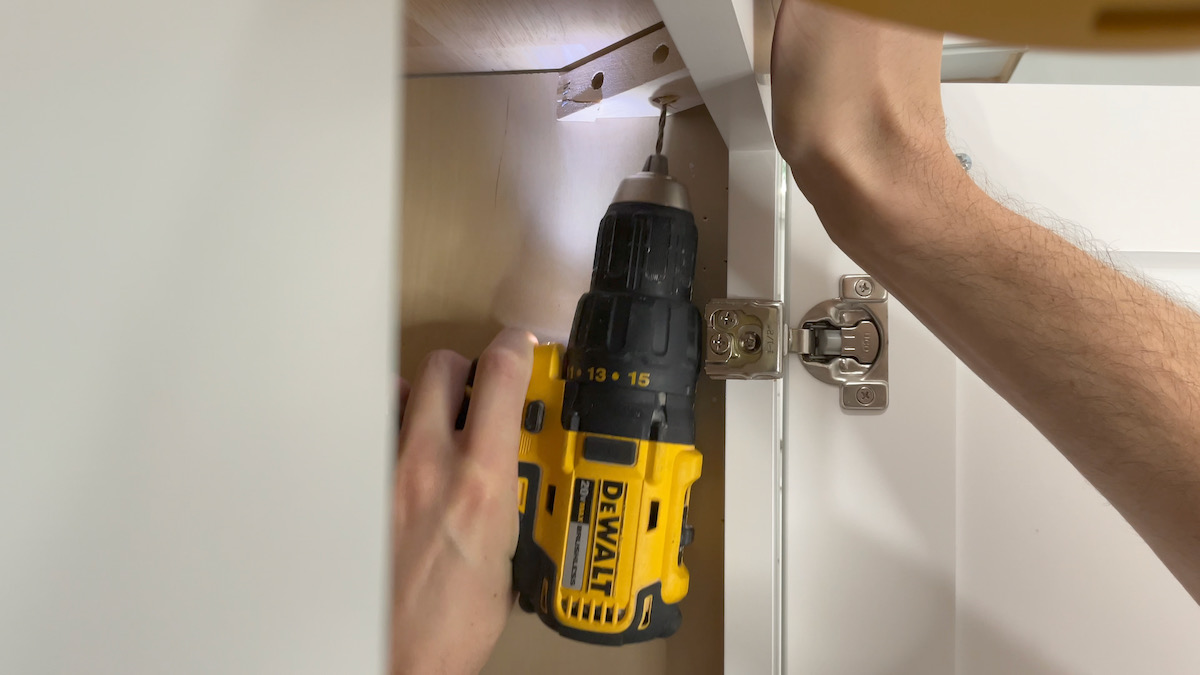
Pre-drill through the larger holes into the cabinet using a bit slightly smaller than your screws.
Step 15
Using screws and washers (we used #8 1 1/2" pan-head wood screws and 3/16 x 1 1/4" washers) secure your countertop into place using the holes that you drilled in the last step. You will want these to be snug, so the countertop can’t be shifted around freely, but not so tight that the screws can’t move as the wood expands and contracts.
Step 16
Great job, you did it! Your new butcher block countertop is complete!!
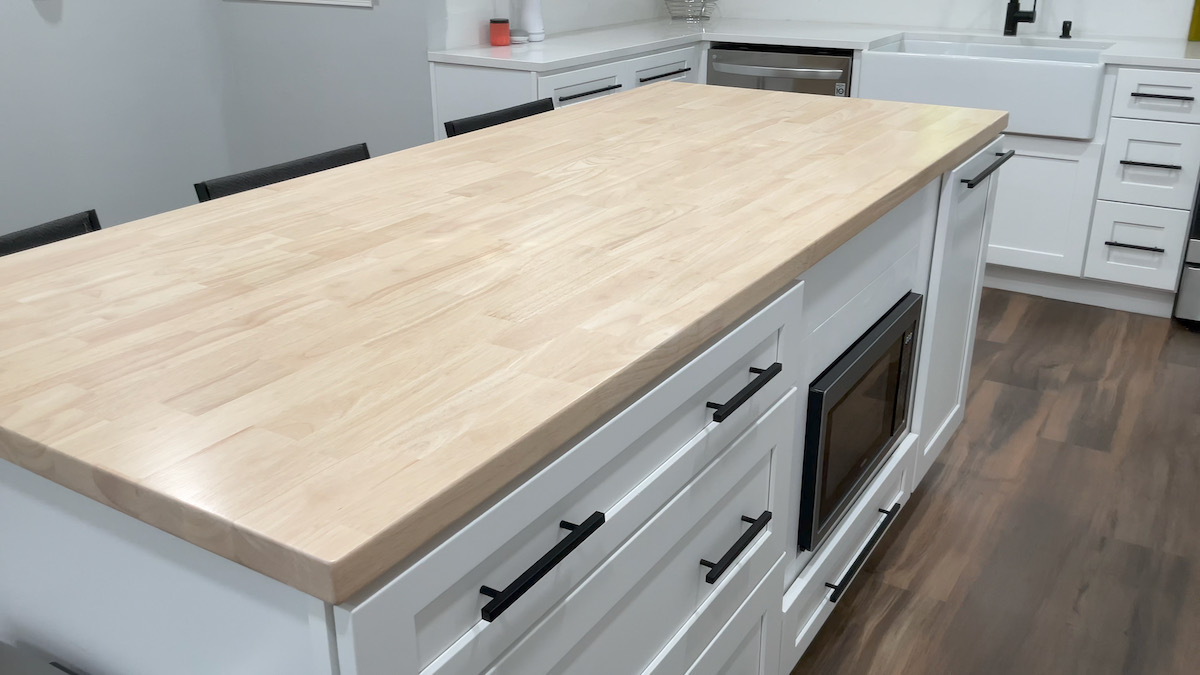
Thanks for checking out this DIY butcher block kitchen island tutorial. Adding the butcher block really stands out against the cabinets and can add some farmhouse character to the kitchen space. If you enjoyed this article, please follow August Pine Workshop on social media to see some of my upcoming projects!

