Disc sanders are one of those tools that for the most part I feel like I don’t need, but every now and then I find myself in a situation where it would be super convenient to have one to sand some small pieces. With that said, I’d much rather save up to buy tools that I would use all the time rather than ones that would be used more sparingly.
So, I decided to build a disc sander jig for my orbital sander! This was inspired by another maker on YouTube that did a similar project, and I think it’s a great idea. This jig is the perfect solution to gaining some disc sander functionality without having to spend a lot of money. Mine was build entirely from scrap wood!
I like to share scripture with each project I create, the verse I chose for this project is:
If any of you lacks wisdom, you should ask God, who gives generously to all without finding fault, and it will be given to you. - James 1:5
The Tools I Used
- Jigsaw | Dewalt 12" Sliding Compound Miter Saw
- Circular Saw | Ryobi Circular Saw
- Drill | Dewalt Drill
- Tape Measure | Milwaukee Tape Measure
- Clamps | Dewalt Clamps
- Rafter Square | Rafter Square
- Cordless Nail Gun | Ryobi Nailer
- Contour Gauge | QEP Contour Gauge
The Materials I Used
- A Small section of 1/2" Plywood
- Assorted Scrap Wood
- Wood Glue
- Blue Painter’s Tape (Optional)
I had some scrap wood, wood glue, and painter’s tape already laying around the shop. I was able to use these materials to keep my cost down. This is a pretty small jig, so you could probably purchase a small 2' x 2' section of plywood and complete this project with that.
Total Project Cost: $0 (Using Scrap Wood)
Step by Step
Step 1
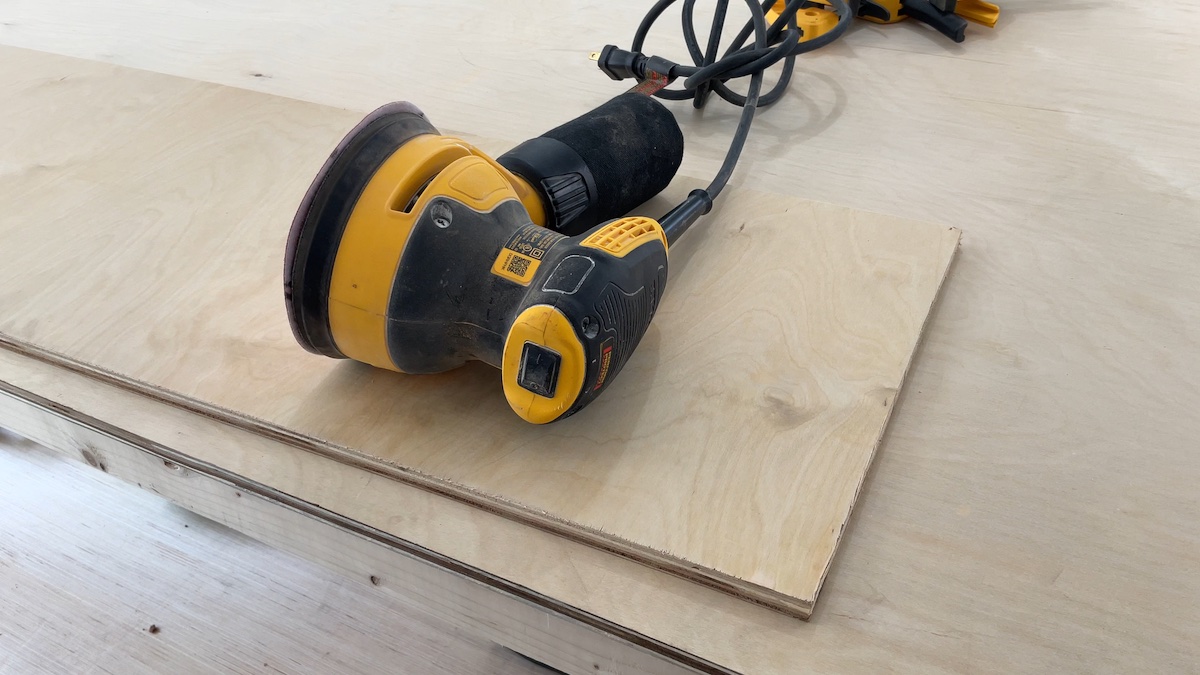
First, I measured the size of my orbital sander and cut a section of plywood to serve as the base of the jig. I recommend leaving some extra space to serve as a clamping surface.
Step 2
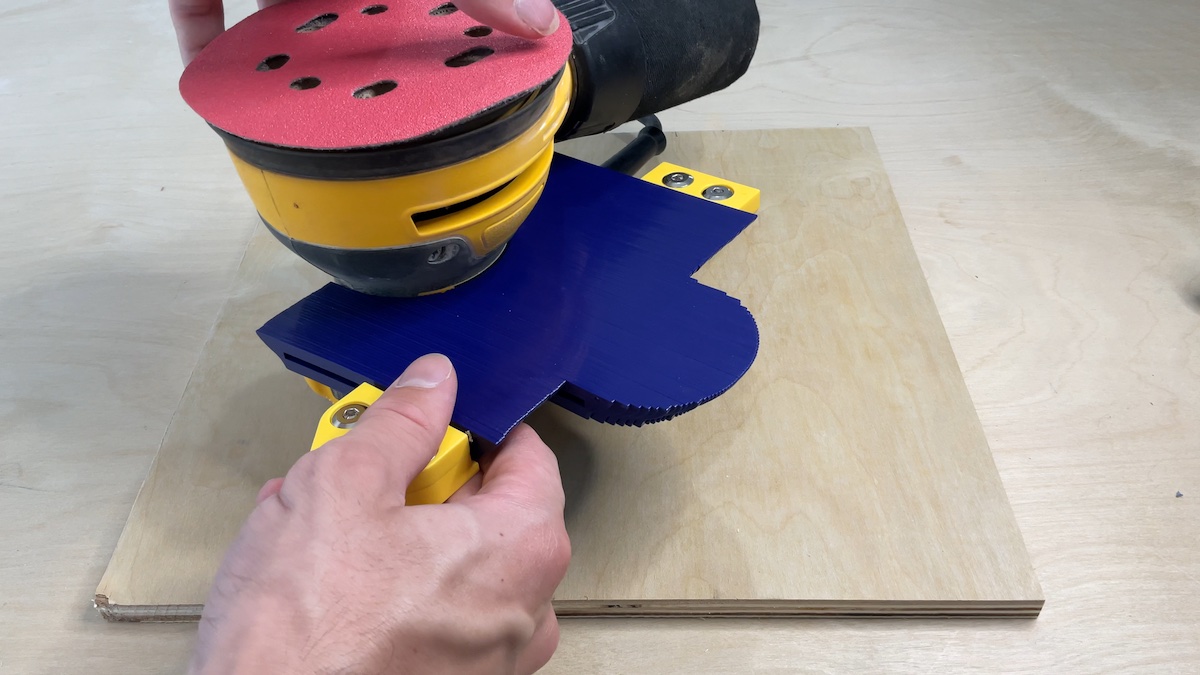
Next, use a countour gauge to find the exact shape of the body of the sander.
Step 3
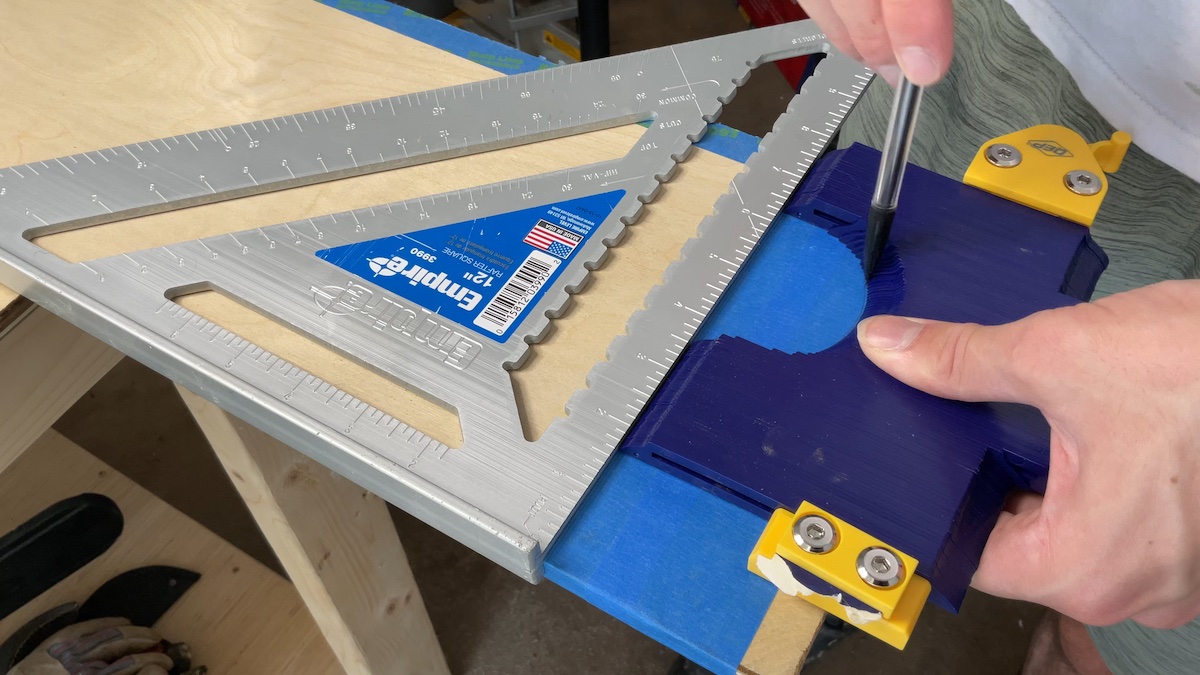
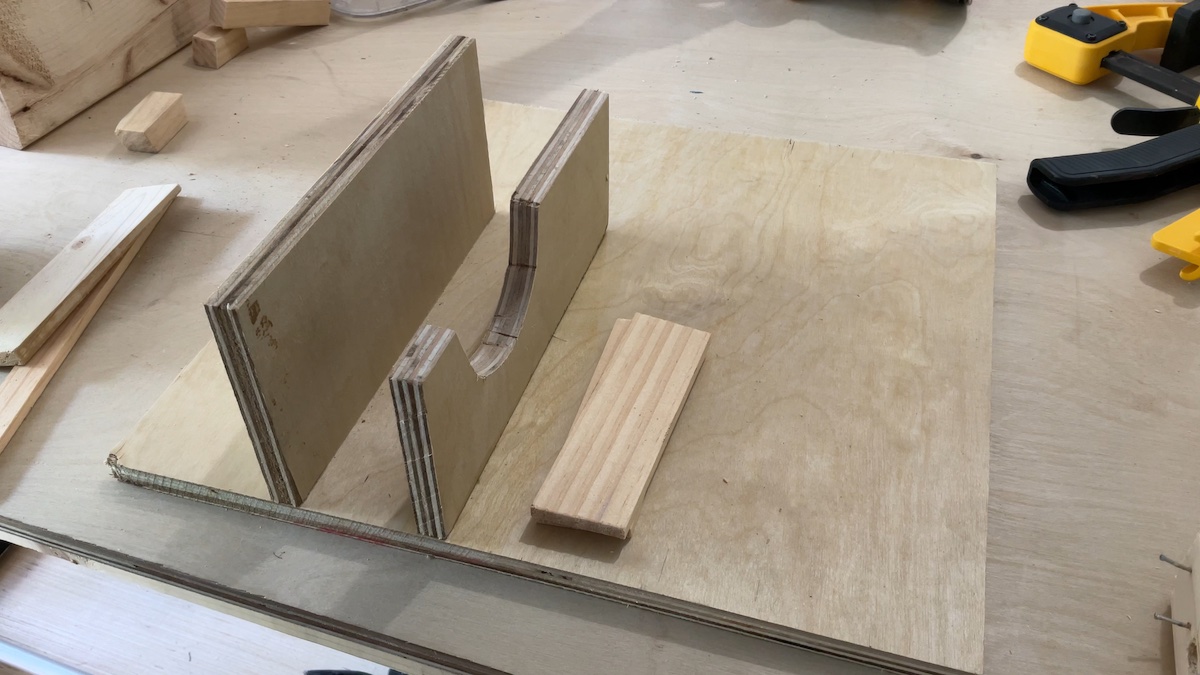
Then, trace the shape of the contour onto your plywood and cut it out using a jigsaw.
Step 4
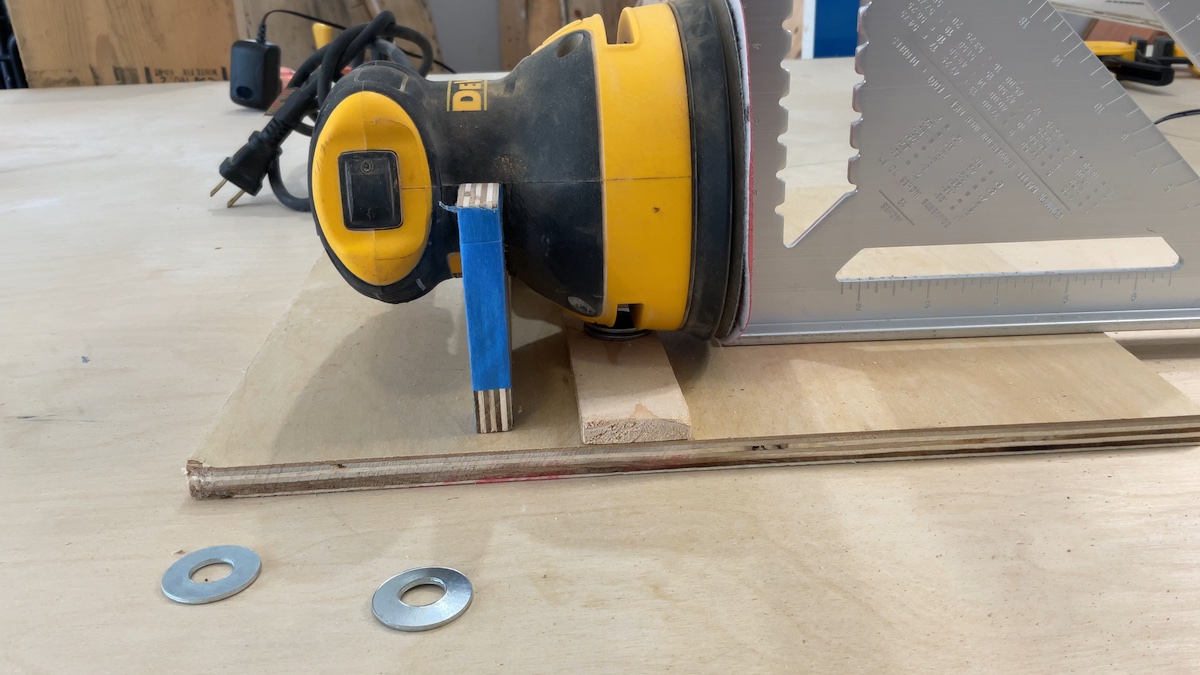
Depending on the shape of your sander, you will likely need to add a shim or some type of spacer to lift the main body off of the surface of the jig. I used a couple of small strips of scrap wood. You’ll know that you have the right height when the sander face is a perfect 90 degree angle from the base of the jig.
Step 5
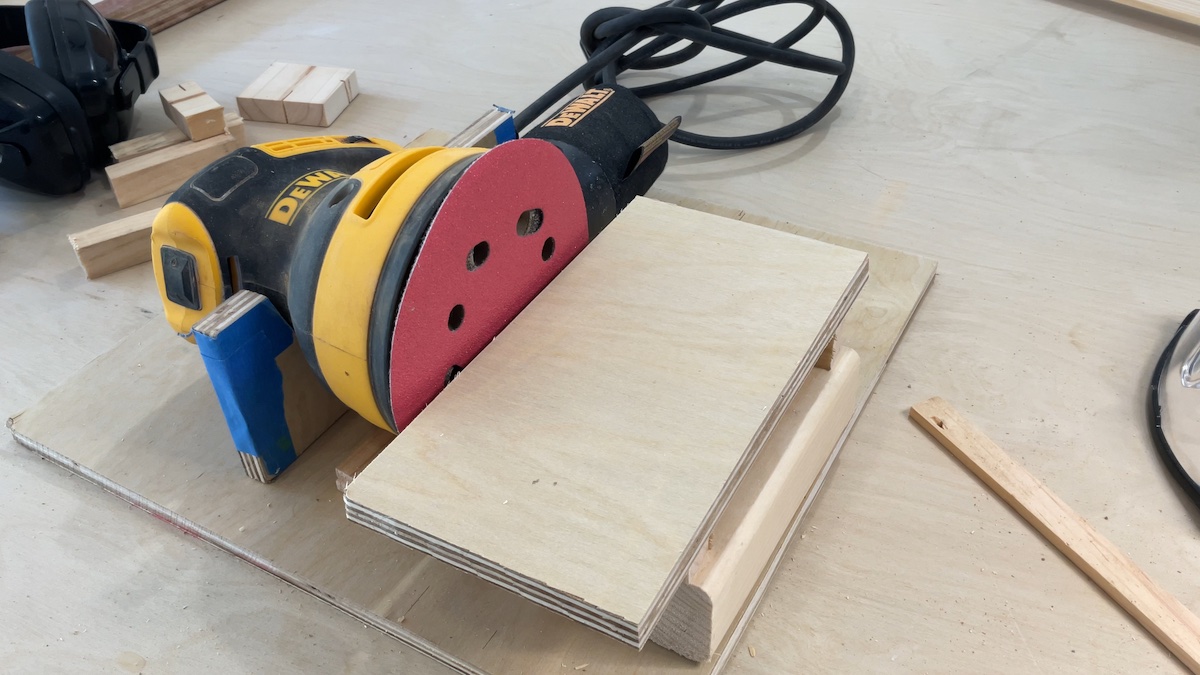
Then, create a small table in front of the face of the sander. You want this to reach the middle of the sander.
Step 6
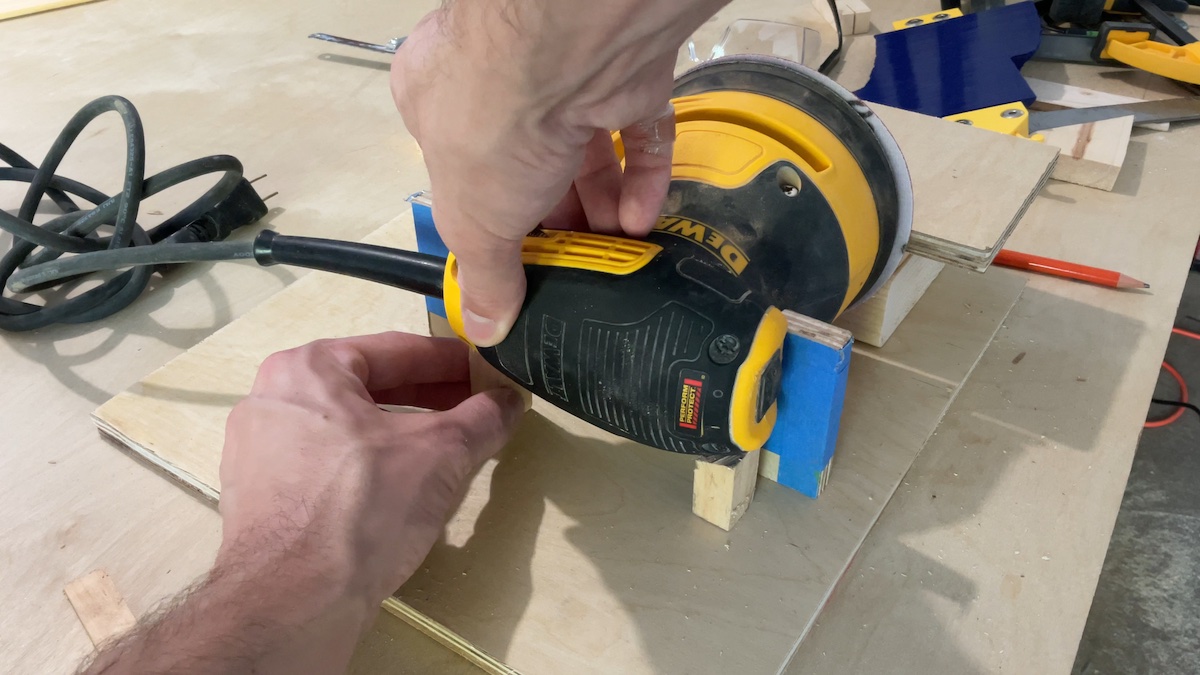
If neccesary, cut some small blocks of wood to put under the handle of the sander to help stabilize it and keep it from shifting around once it’s turned on.
Step 7
Cut another small piece of plywood to put behind the sander handle for more added stability.
Step 8
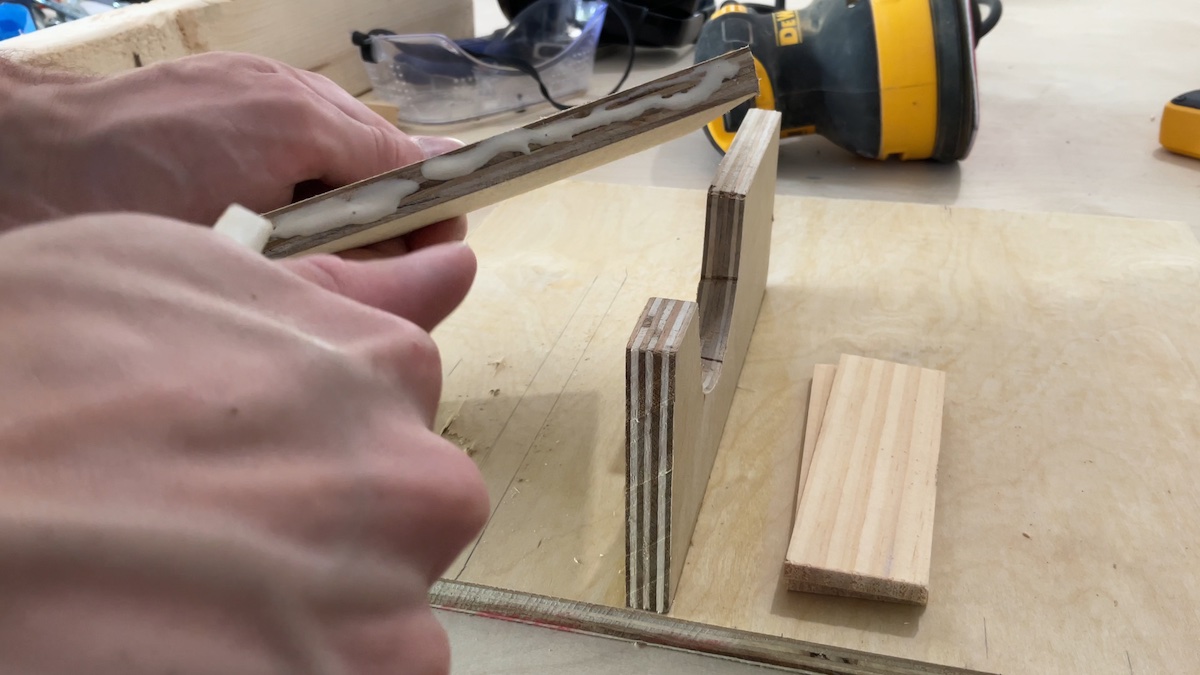
Check that everything is still square and start glueing your pieces down into place using wood glue. Check periodically to make sure it is all lined up.
Step 9
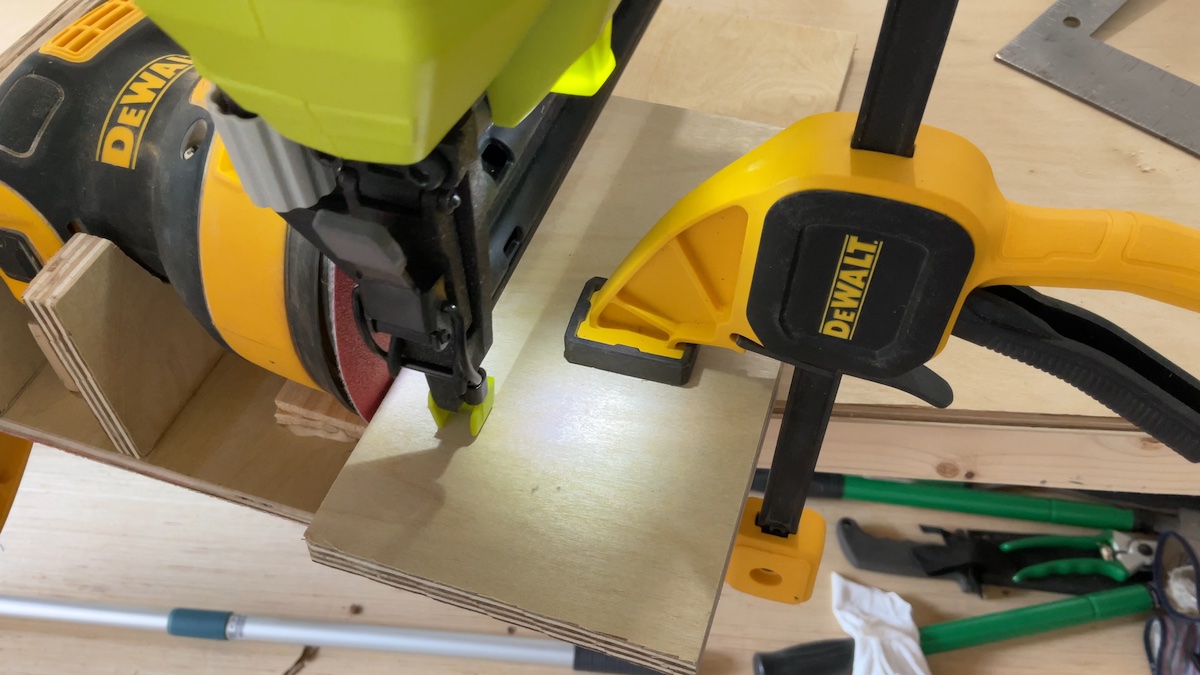
Once the glue has dried, line up the table in front of the sander face. You will want to position the table so it is approximately the thickness of a coin away from the sander. Nail (or glue) the table into place.
Step 10
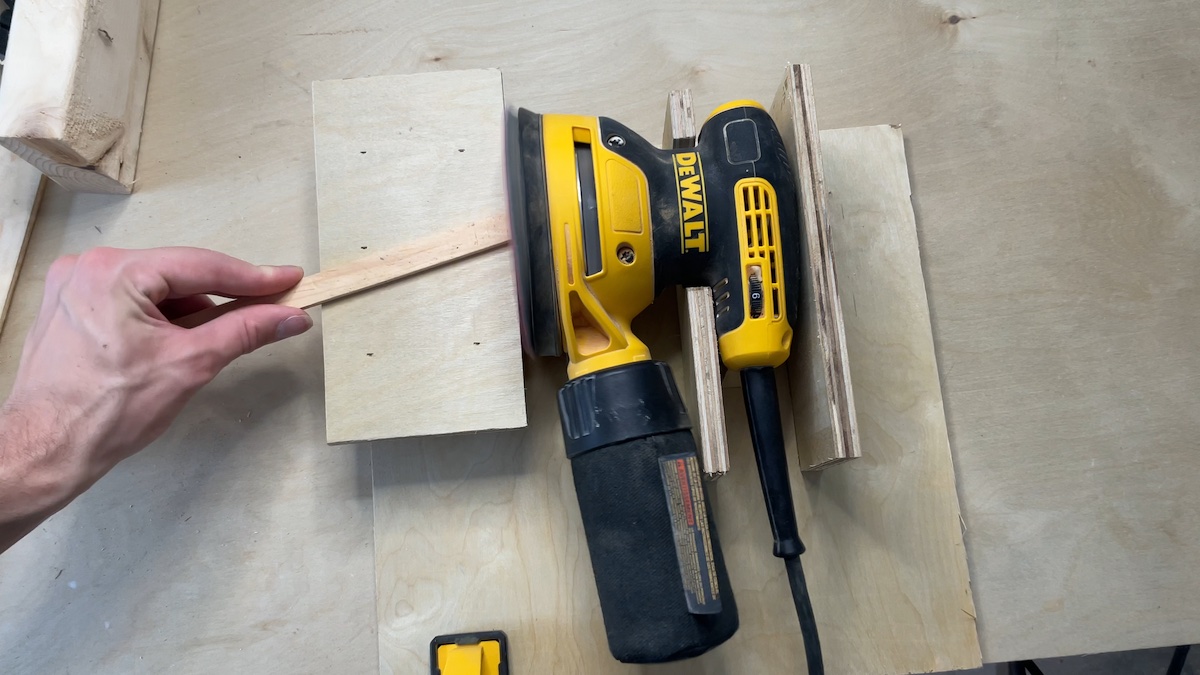
You’re all finished! Enjoy your new DIY disc sander!
Thanks for checking out today’s project! If you enjoyed it, please check out some of my other projects. Be blessed!

