
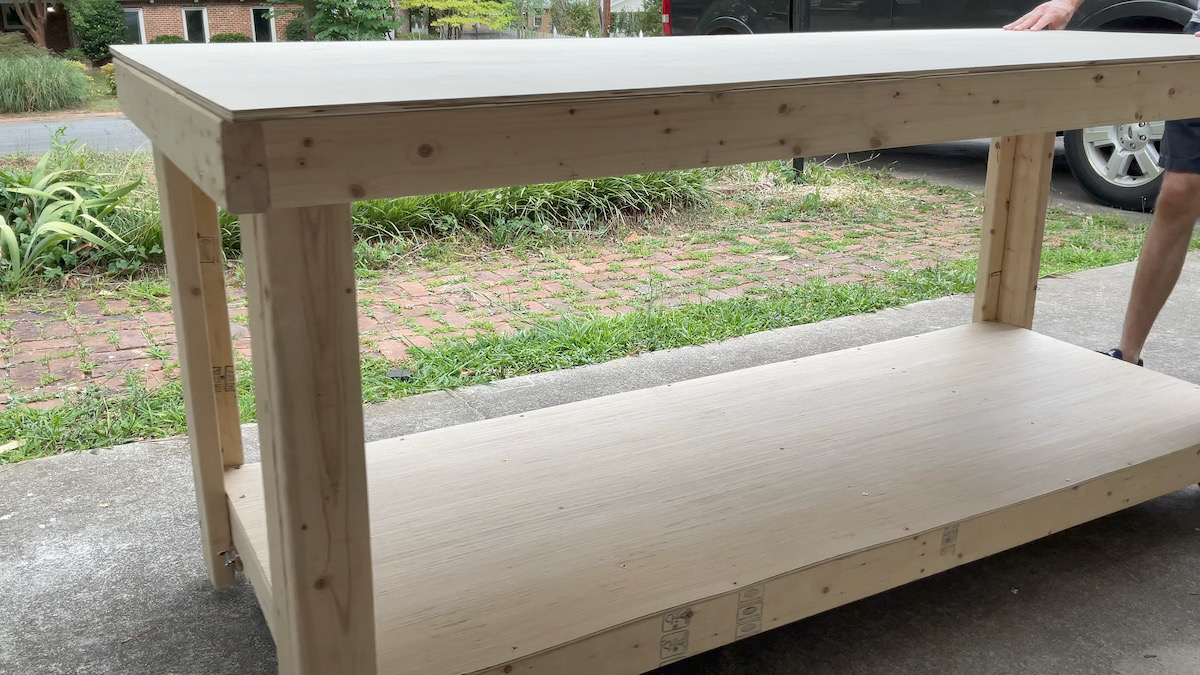
Easy 2x4 Workbench with Retractable Casters
Easily build a workbench using only 2x4s and plywood with some awesome DIY retractable casters.
If your garage feels cluttered and disorganized, you’re not alone. In today’s project, I’m going to show you how I built sturdy wooden garage shelves for less than $40 and how you can do the same using leftover plywood, a few 2x4s, and basic tools.
These shelves are simple, strong, and easily customizable to fit your space. Let’s get started!
Note: this post contains affiliate links. See website policies .
I like to share scripture with each project I create, the verse I chose for this project is:
I sought the Lord, and He answered me; He delivered me from all my fears. - Psalm 34:4
Total Project Cost: $36
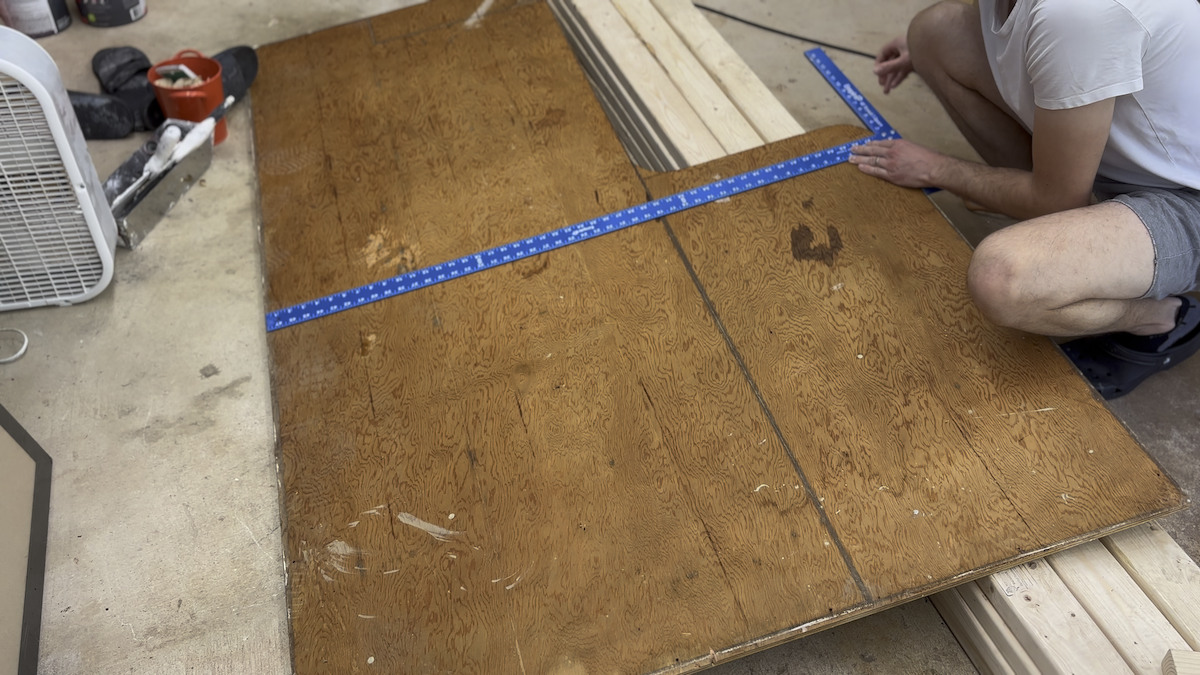
I started off with a scrap sheet of ½-inch plywood that had been sitting in my garage. I marked out the dimensions for each shelf. Then, using a circular saw, I cut the plywood down into equal pieces.
After the initial cuts, a few pieces weren’t perfectly aligned, so I brought them over to the table saw for cleanup. If all you have is a circular saw, no worries, you can get great results with that too. I just used the table saw since it’s a bit easier.
Having shelves that match in size is essential because we’ll be building 2x4 frames around each one and we will need it to fit within our frame.
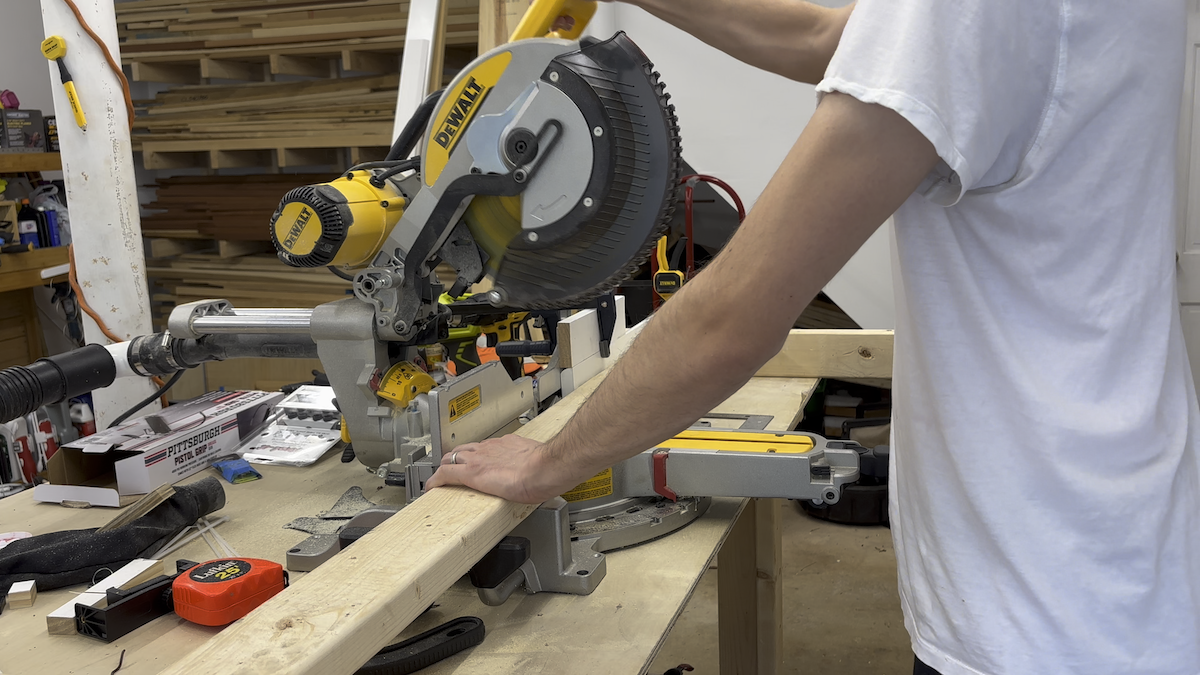
Next, I took the 2x4s to the miter saw and set up a simple stop block to make sure all the 2x4 cuts would be perfectly consistent. (If you’re curious about how to build that stop block, I have a separate video on my YouTube channel that walks through it.)
Each shelf needs:
These 2x4s will form the support frame under the plywood and will ensure each shelf can hold substantial weight without flexing or breaking.
You can also do this step with a circular saw.
Once everything was cut, I laid out the frame of the shelf. Each shelf is made up of the following components:
I placed the short boards between the two long boards, aligned the middle one carefully, and then laid the plywood on top. This dry fit helps ensure everything lines up before assembly.
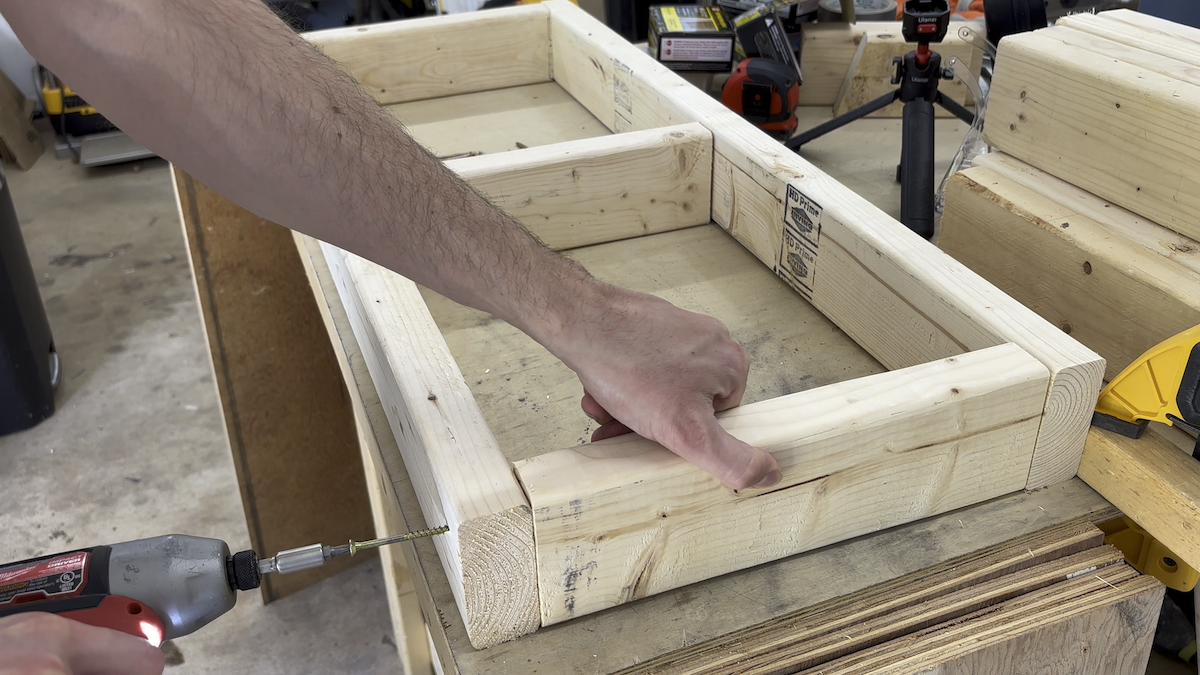
To assemble each shelf, I used 2½-inch construction screws. Before driving them in, I clamped a scrap piece of wood behind my frame to keep everything from sliding on the workbench.
Some of my 2x4s were slightly warped because they’d been sitting in the garage a while, but honestly, for a garage project, it’s totally fine. We’re going for strong, not perfect.
Once the frame was screwed together, I attached the plywood tops using 1½-inch construction screws.
With the shelves fully assembled, it was time to prep the vertical supports.
I grabbed my 4 remaining 2x4s and measured where each shelf would sit. I marked each location directly on both vertical pieces so that once assembly started, I could quickly align everything without guessing.
Keep in mind, if you have 8 foot ceilings, you will probably want to cut some off of these 2x4s so there is room above the top shelf for items that will sit on the shelf once it’s built.
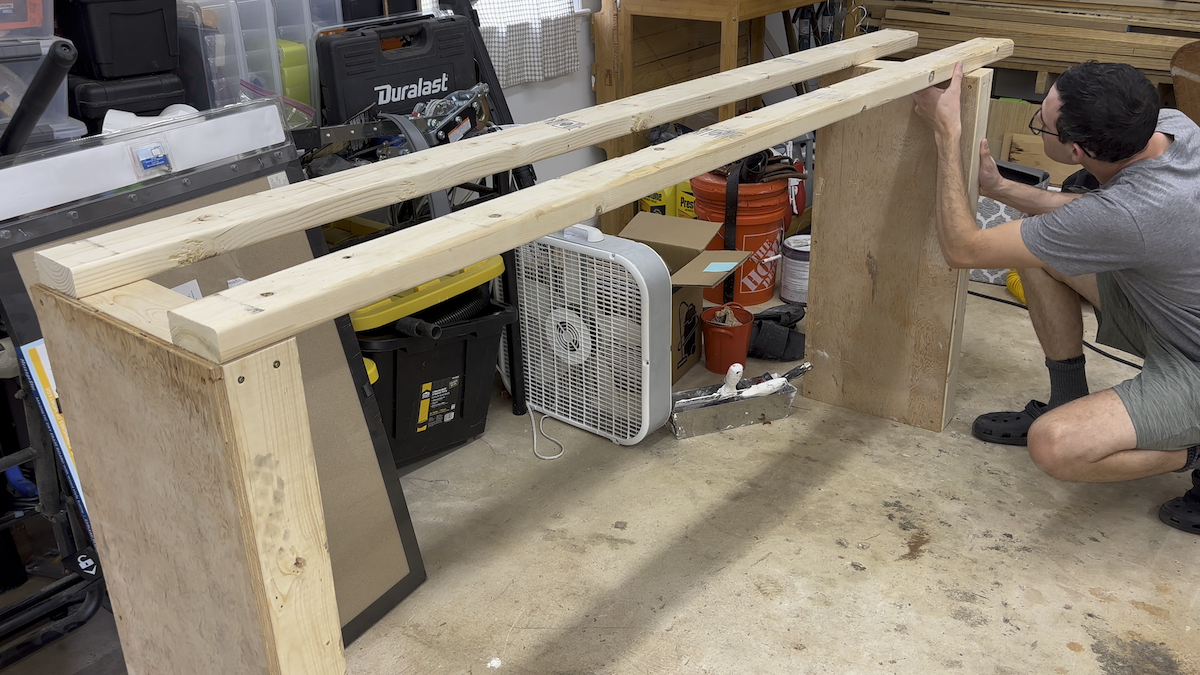
I began the assembly by attaching the top and bottom shelves first. Securing these two shelves creates a strong outer structure that helps keep everything square and stable as you work.
I pre-drilled and countersunk the holes, then used decking screws to attach everything. After securing one side, I flipped the unit over and repeated the process on the other side.
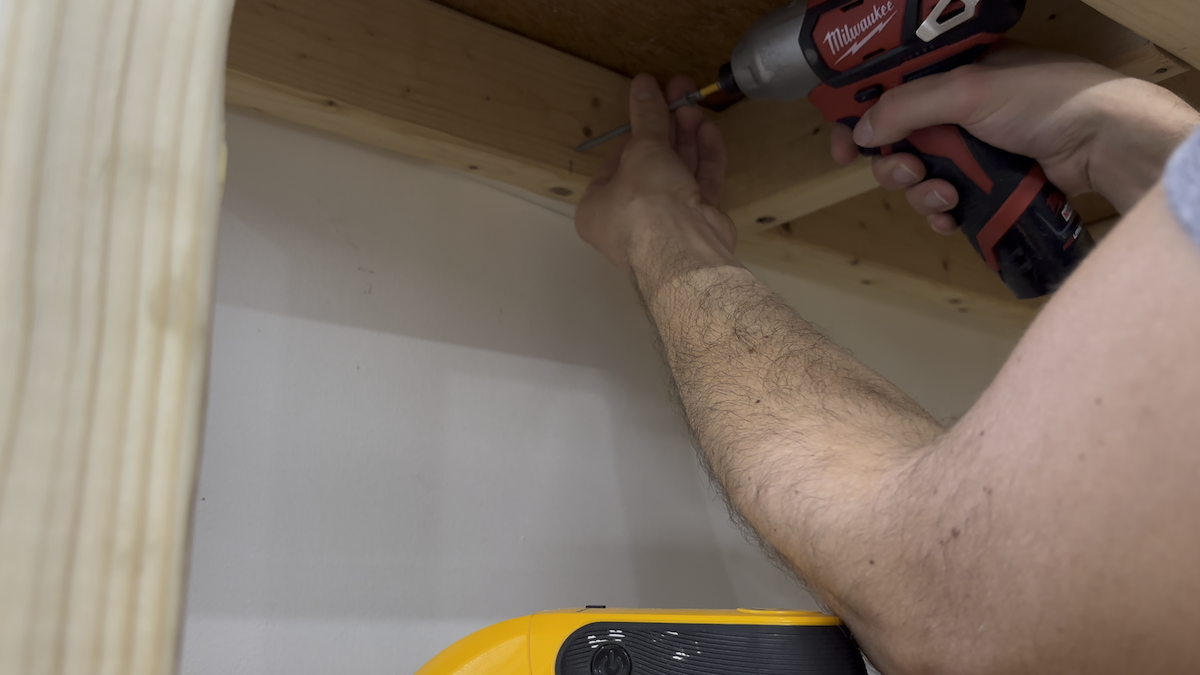
To install the shelves in between, I lined up clamps with the marks I made earlier. This helped hold each shelf at the correct height while I secured them.
Some of the 2x4s were warped enough that I needed to use a rubber mallet to tap shelves into place.
Once each shelf was aligned, I drove screws through the supports with my impact driver. You can absolutely do this with a drill, but the impact driver makes it much easier and faster.
With the shelving unit fully assembled, there was one last (and extremely important) step.
I grabbed my stud finder and marked out the studs on the garage wall. Because I have baseboard trim on the floor, I also added a small trim block behind the shelf to fill the gap and allow the unit to sit flush against the wall.
Then, I secured the shelving unit directly into the studs.
Securing the shelves prevents tipping, shifting, or collapsing—especially if you’ll be storing heavy tools, bins, or equipment.
This project has proven to be very useful in my garage space. The shelves are sturdy, easy to customize, and the entire build cost less than $40.
Not only does the garage look cleaner, but now I have tons of storage space for tools and supplies.
I hope this project inspires you to tackle your own garage cleanup. If you found this guide helpful, be sure to subscribe to my email list and check out some of my other projects!

Easily build a workbench using only 2x4s and plywood with some awesome DIY retractable casters.
Create a simple, sturdy lumber rack using only 2x4s and screws.
Build an easy and affordable garden tool storage system for your garage/shed using french cleats.