

Easy DIY Garage Storage Shelves Made With 2x4s
These shelves are a simple, affordable garage storage project that will help get your space organized.
Thank you for joining me on my very first project here at August Pine Workshop, it is an honor to have you here to join me on my woodworking and DIY journey, I hope you enjoy this easy 2x4 workbench design!
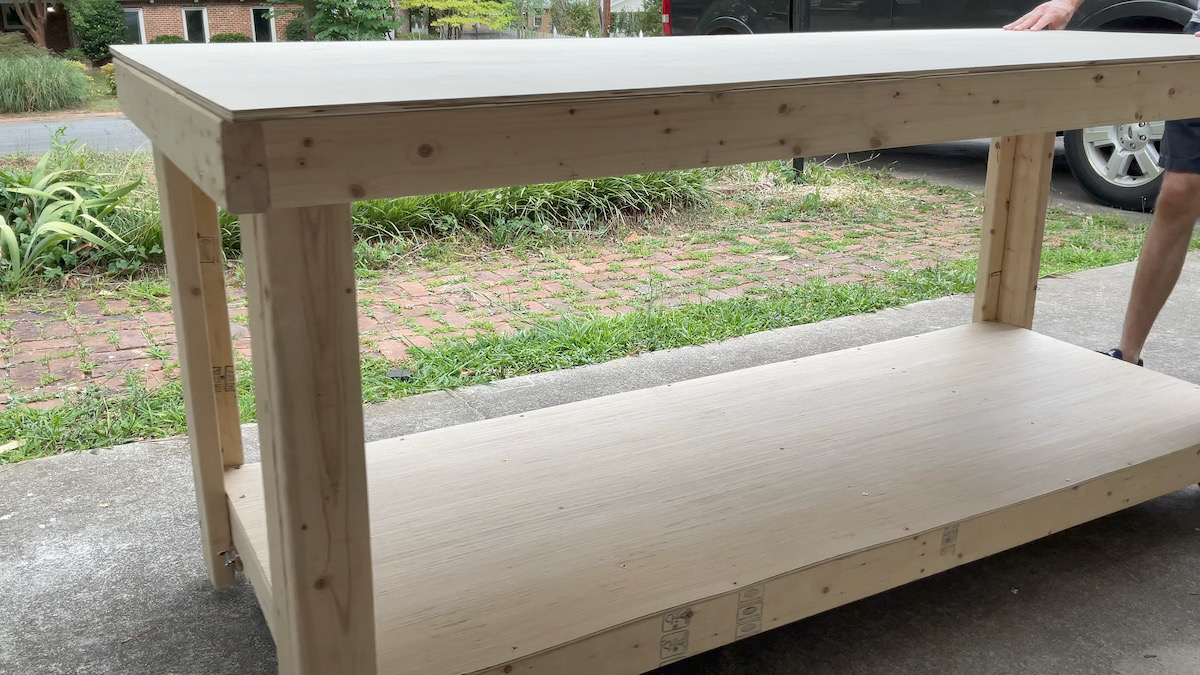
As my wife and I set up the garage workshop in our home, I knew that a critical piece was a solid workbench. I wanted something with a lot of space (for all of the tools that I will inevitably leave sitting on the workbench instead of putting them back where they belong), retractable casters (so I could move it around - particularly outside on a nice sunny day and throughout the garage), and it had to be relatively inexpensive (I’ll give a price breakdown on this whole project a little later on).
Note: this post contains affiliate links. See website policies .
I like to share scripture with each project I create, the verse I chose for this project is:
Therefore, since we are surrounded by so great a cloud of witnesses, let us also lay aside every weight, and sin which clings so closely, and let us run with endurance the race that is set before us, looking to Jesus, the founder and perfecter of our faith, who for the joy that was set before him endured the cross, despising the shame, and is seated at the right hand of the throne of God. - Hebrews 12:1-2 ESV
Although I recommend these tools and they are what I used, I believe that there are a lot of other ways to complete this project using different tools. So if you don’t have access to these particular tools, don’t give up!
I had a lot of leftover 2x4s, some scrap plywood, a bunch of construction screws, and the Harbor Freight rolling cart already at home in the garage. I encourage you to see what you may already have before making a trip to the hardware store!
Total Project Cost (To Buy Everything New): $163.30
Note: If you’re here for only the retractable casters, skip to Step #8
Determine the size and shape that you want for your workbench. Although this isn’t the most exciting steps, I believe that planning is crucial. I would suggest considering the amount of space that you have to work with in your garage or workshop, what you plan to use the workbench for (working on projects, sanding, painting, storage, etc.), the height of any other tools that you may want to use with the workbench (I use mine as a table saw outfeed table) ,and also the height that you want. I definitely suggest spending some time determining a comfortable working height as having the wrong height can contribute to neck and back pain.
For my table, I chose to design a 7' x 3' table with a 36 1/4" surface height (the same height as my Delta table saw).
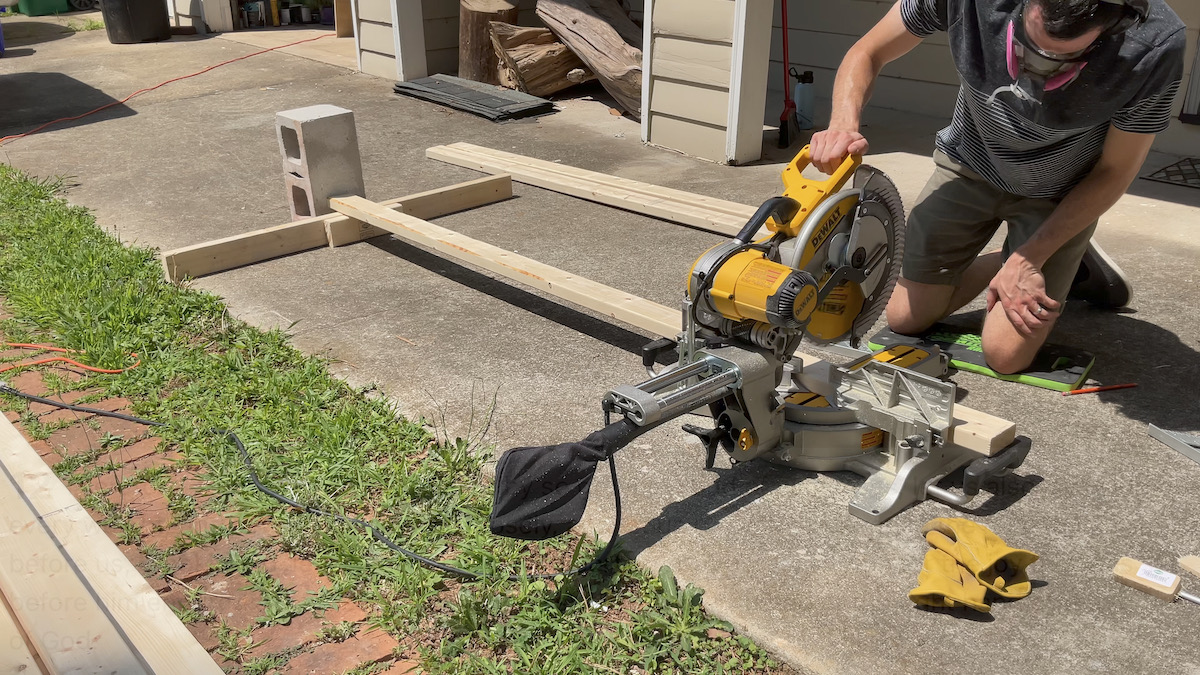
It’s time to make your cuts! I’ll be providing my cuts for reference, but rememeber that these will change if you choose a design with different dimensions. If you’re buying from scratch I’d recommend getting 12 8' 2x4s. I’ve calculated (what I think) is the most efficient way to make these cuts, so you won’t have to, but please let me know if you do see a better way to do it!
For this step, you’re going to need either a circular saw or a miter saw and a measuring tape.
The cuts for each 2x4:
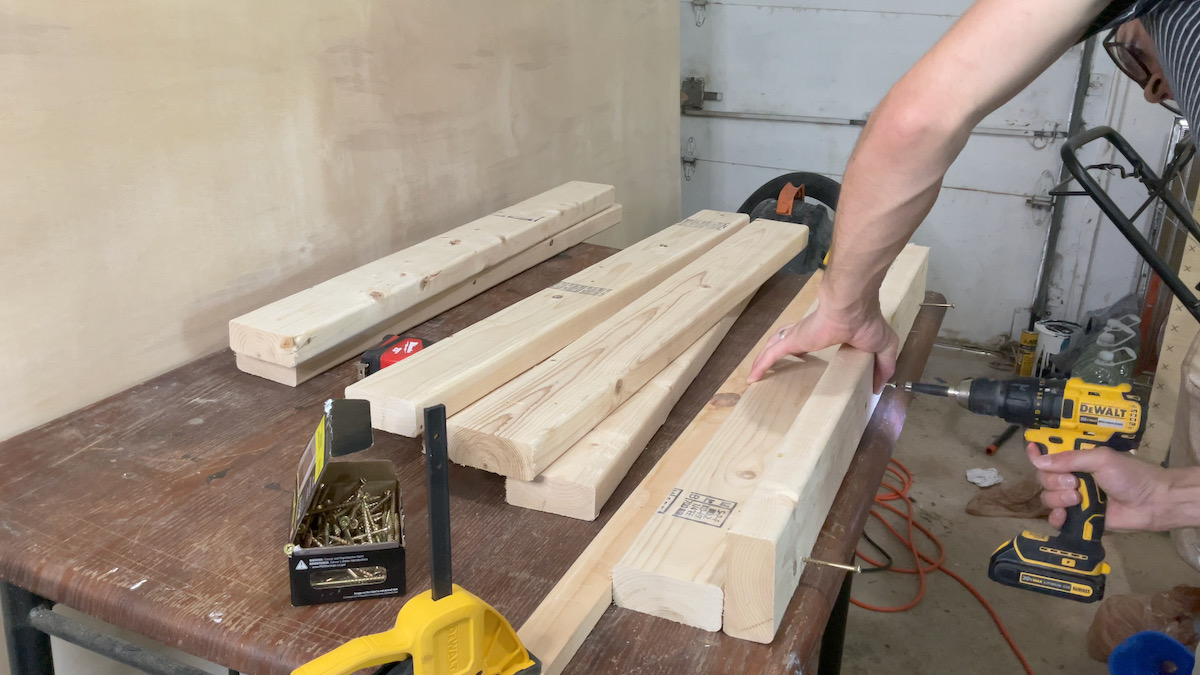
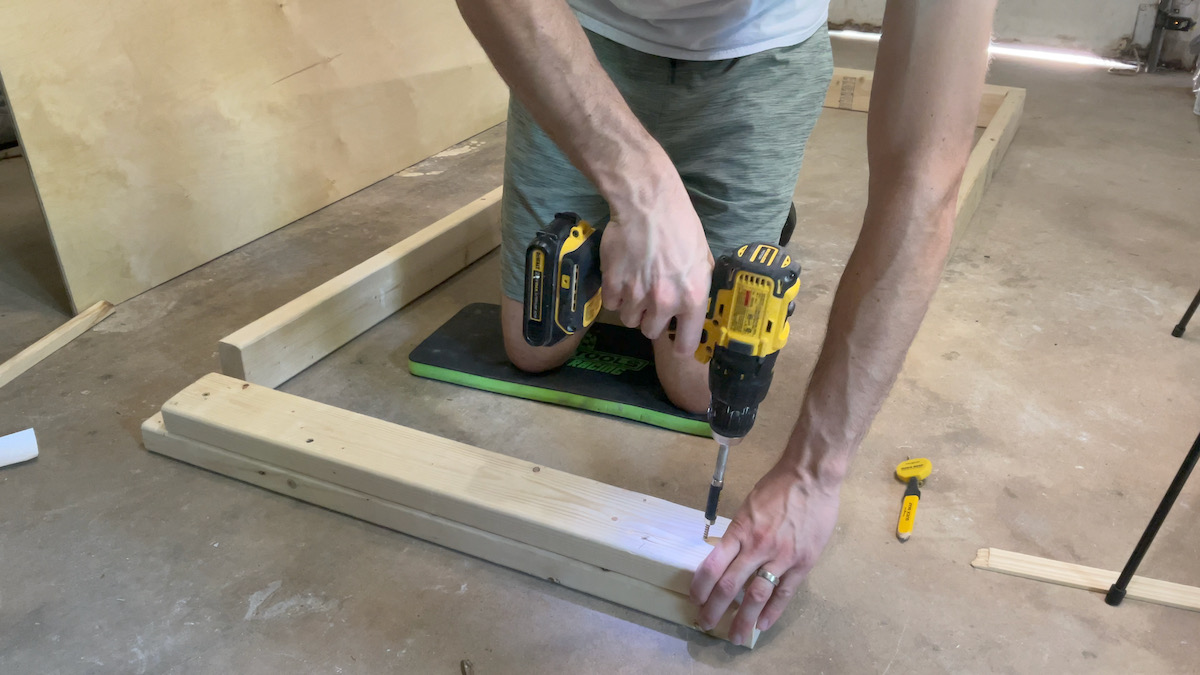
Using 8 of the 35 3/4" pieces, make 4 L-shaped legs. Simply turn them so they meet to create a 90 degree angle and secure them with screws.
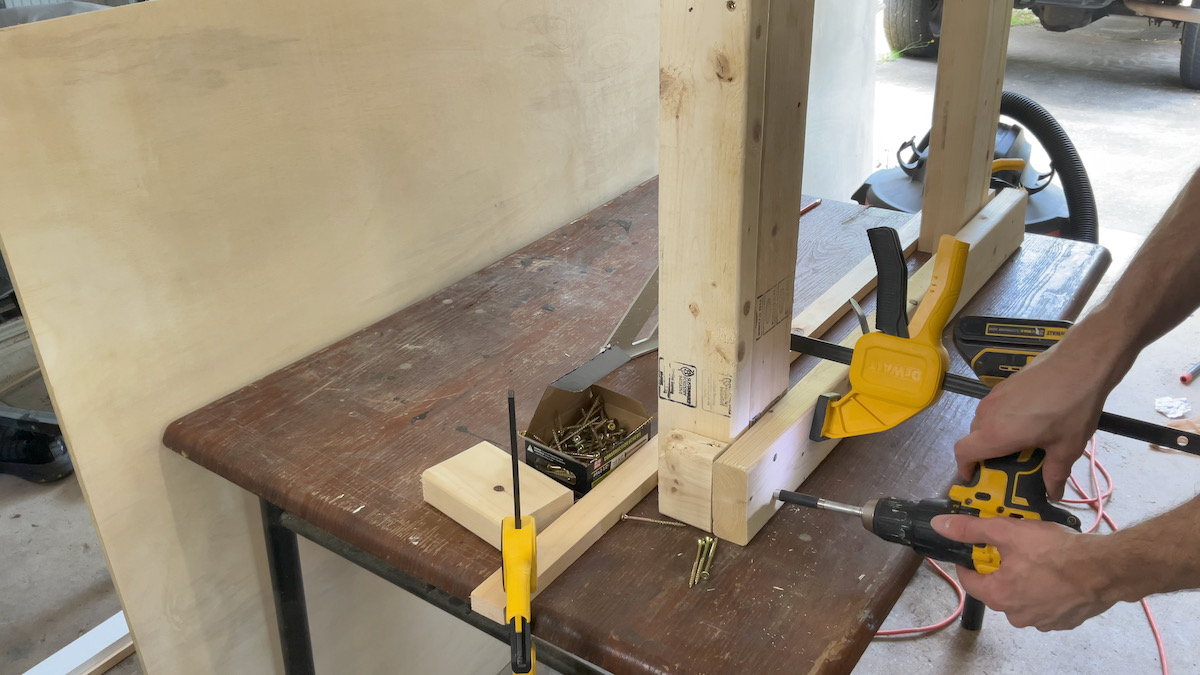
Stand 2 of the legs so they’re standing up and add 1 of the remaining 35 3/4" pieces across the legs to form a U shape. Allow the cross pieces to overlap the ends of the legs by 1 1/2" on both ends, this will leave enough space to add the longer pieces that will form the framing for the table top.
Secure these pieces together using screws and repeat to form the ends for each side.
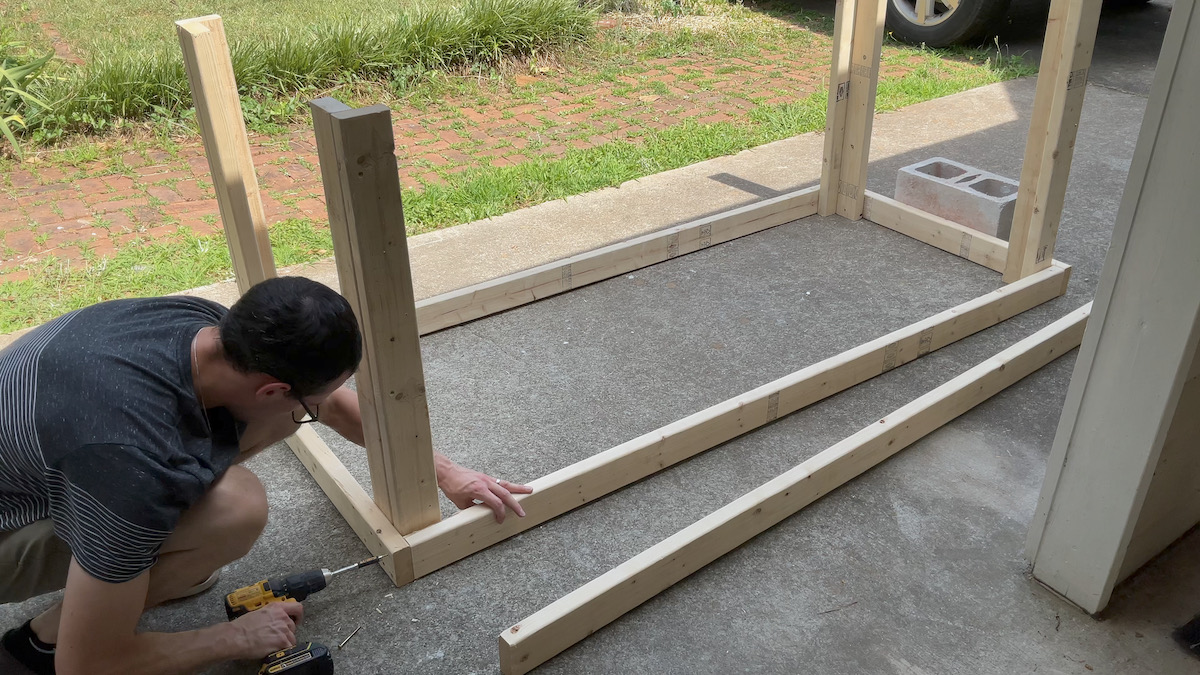
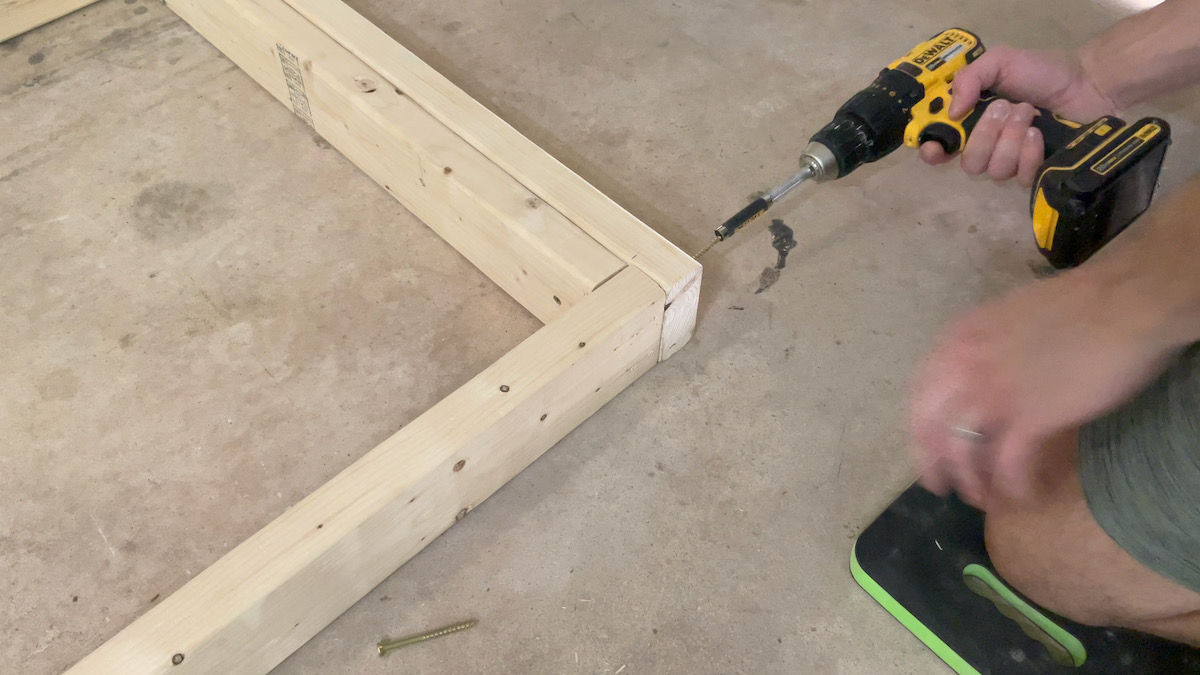
Turn your ends upside down and add 2 of the 81" sections to the outside of your ends. Measure the center point and add the 3rd 81" section in the middle. Secure them with screws.
Take a 29 3/4" section and a 26 3/4" section. Center the smaller piece on the large, leaving 1 1/2" on each side.
Secure into place using screws and repeat this step one more time, so there will be 2 total, one for each end.
Add the 78" sections to the outsides of these end pieces and secure into place using screws.
The following several steps are for the retractable casters.
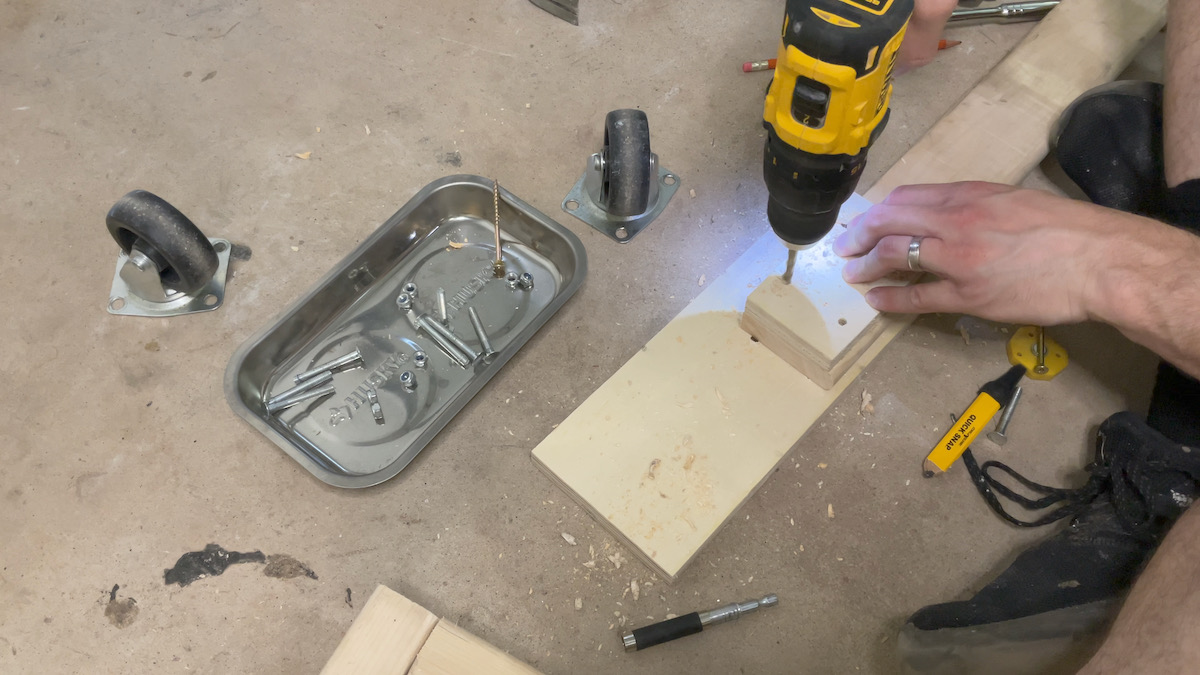
Using a socket wrench, remove the casters from a Harbor Freight moving cart. and dissasemble the wood pieces of the cart.
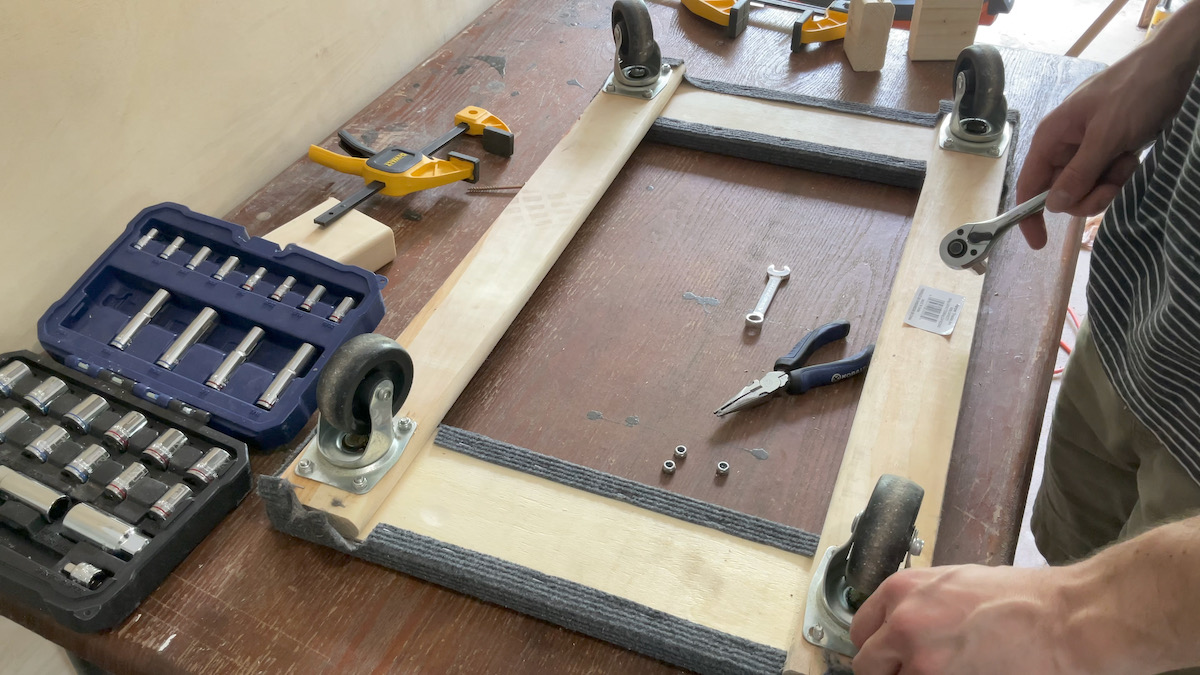
Cut the hardwood pieces down to 26" in length and cut off a small section of the softwood to serve as a spacer so the bolts don’t interfere with the wheel.
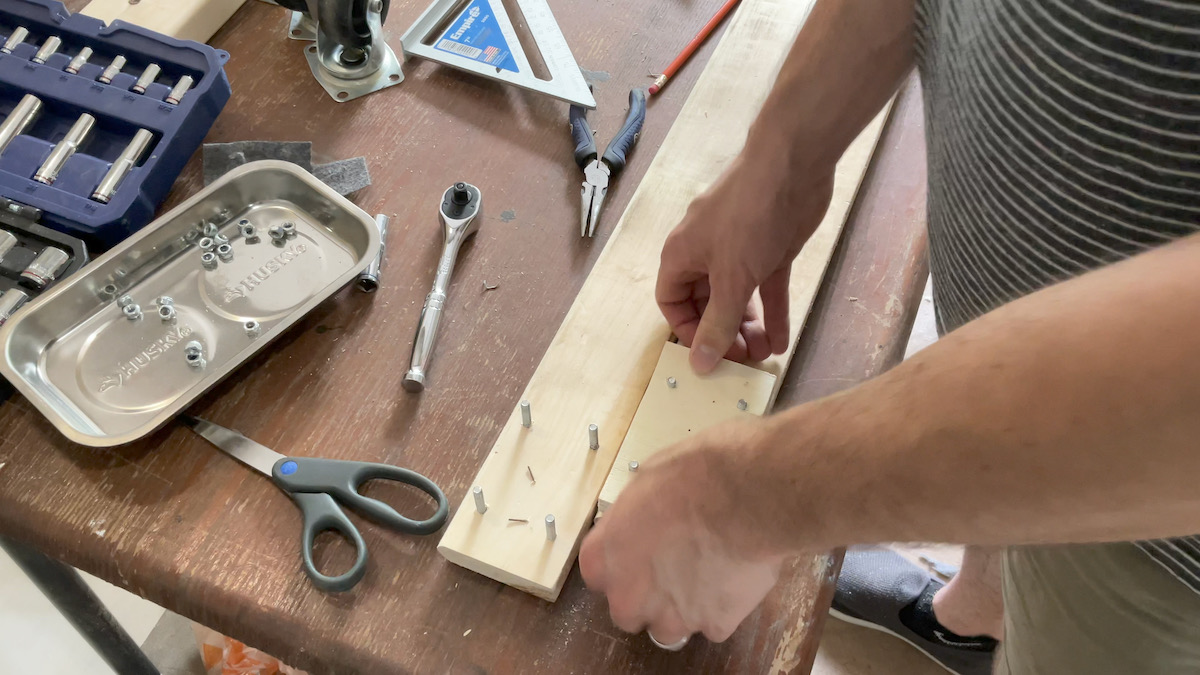
Drill new holes for the casters and secure back in place with a socket set.
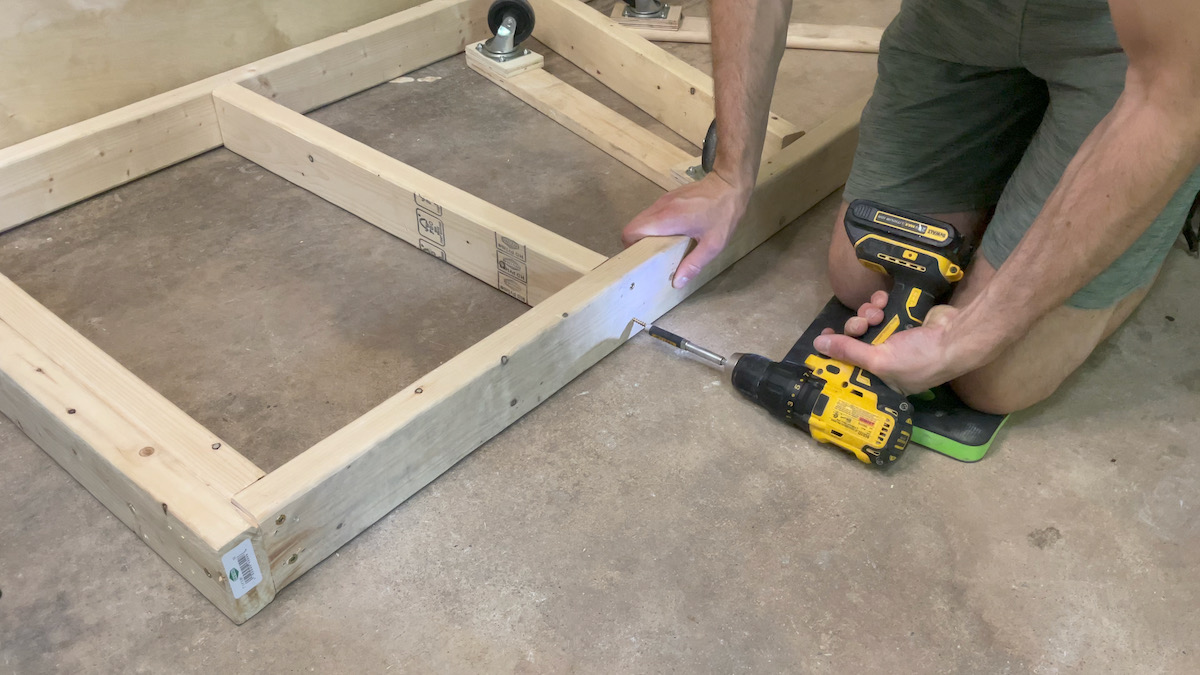
Measure the bottom frame of the workbench and find the halfway point lengthwise. Mark this location and find the halfway point between that location and each end. Mark these and secure the 26 3/4" pieces to frame the bottom shelf.
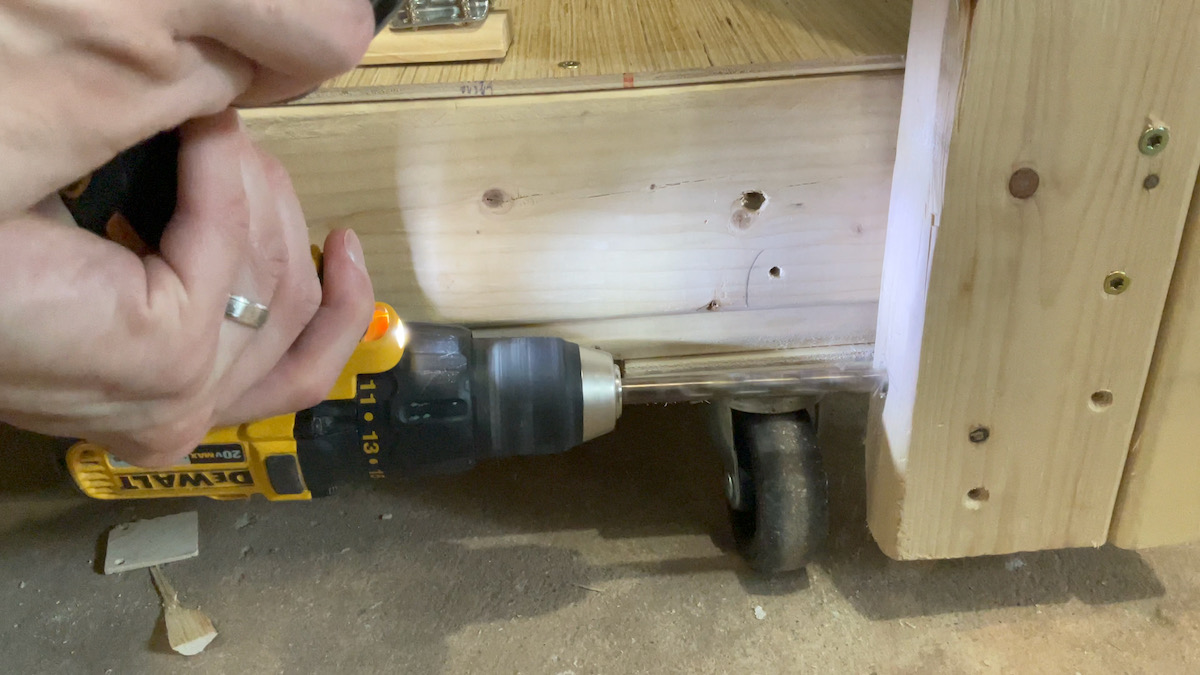
Pre-drill holes at the center of the board with the casters secured. You want to drill these on the opposite side of the casters. Secure your door hinge into place using the included screws.
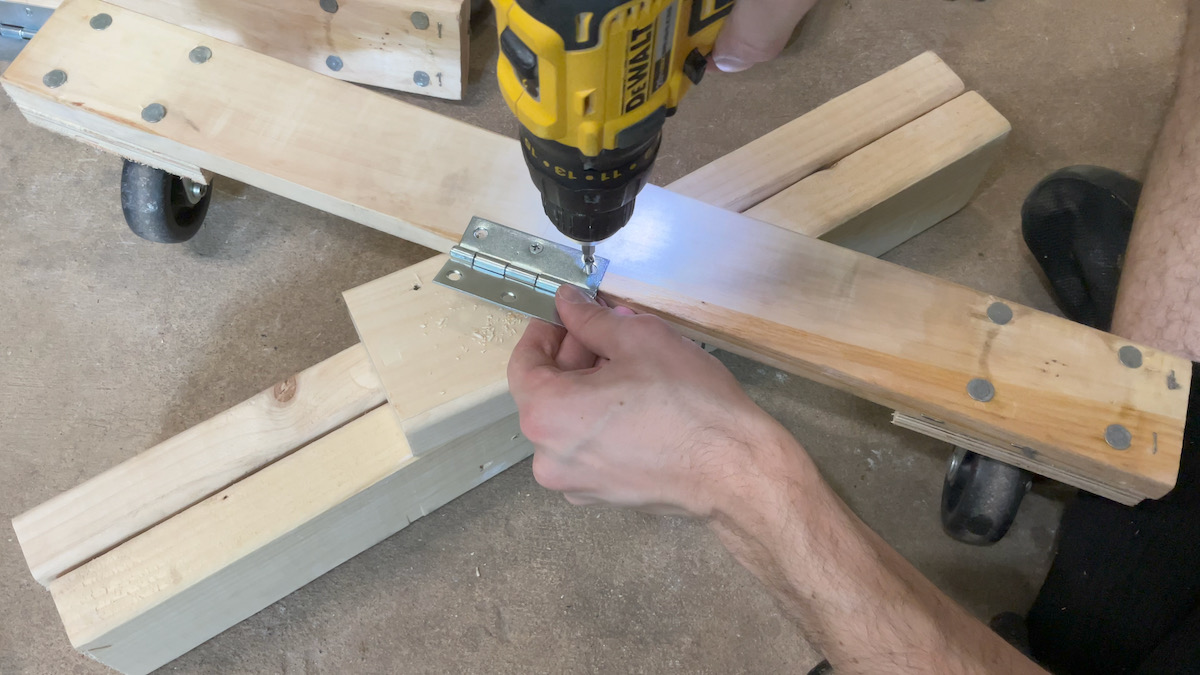
Fasten the other side of the hinge onto the bottom frame of the workbench.

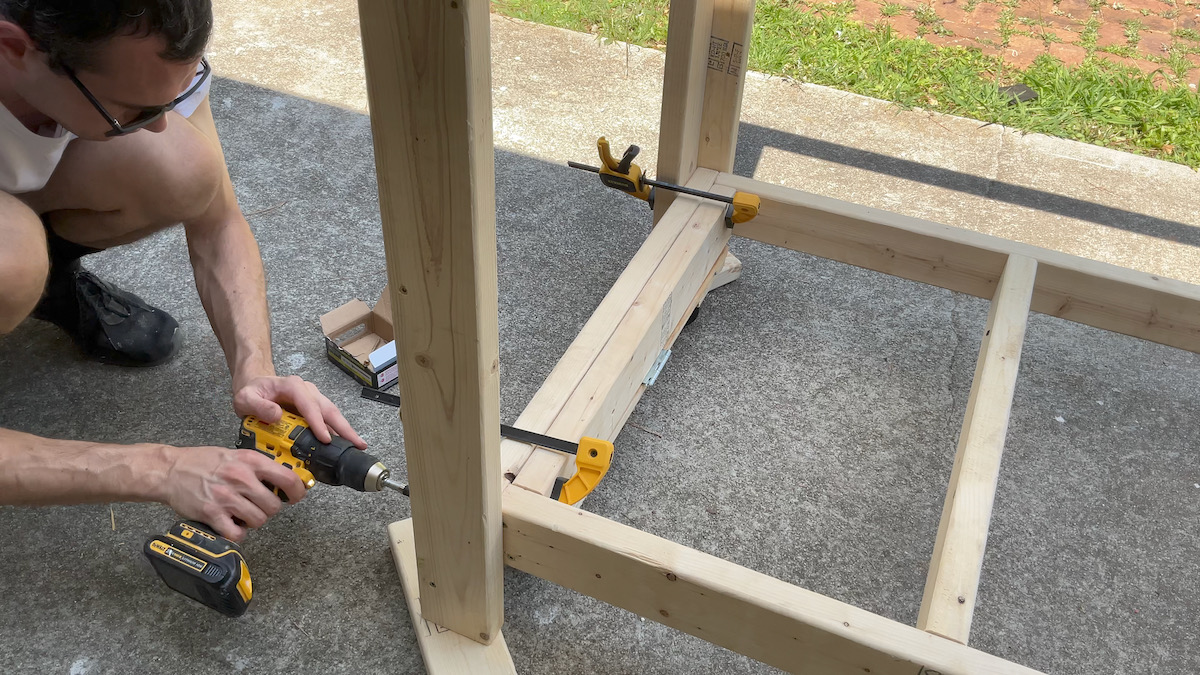
Add the top framing and legs to the outside of the bottom frame. Add spacers to ensure that once fastened, the casters will be below the end of the legs when in use. Secure the bottom frame to the legs.
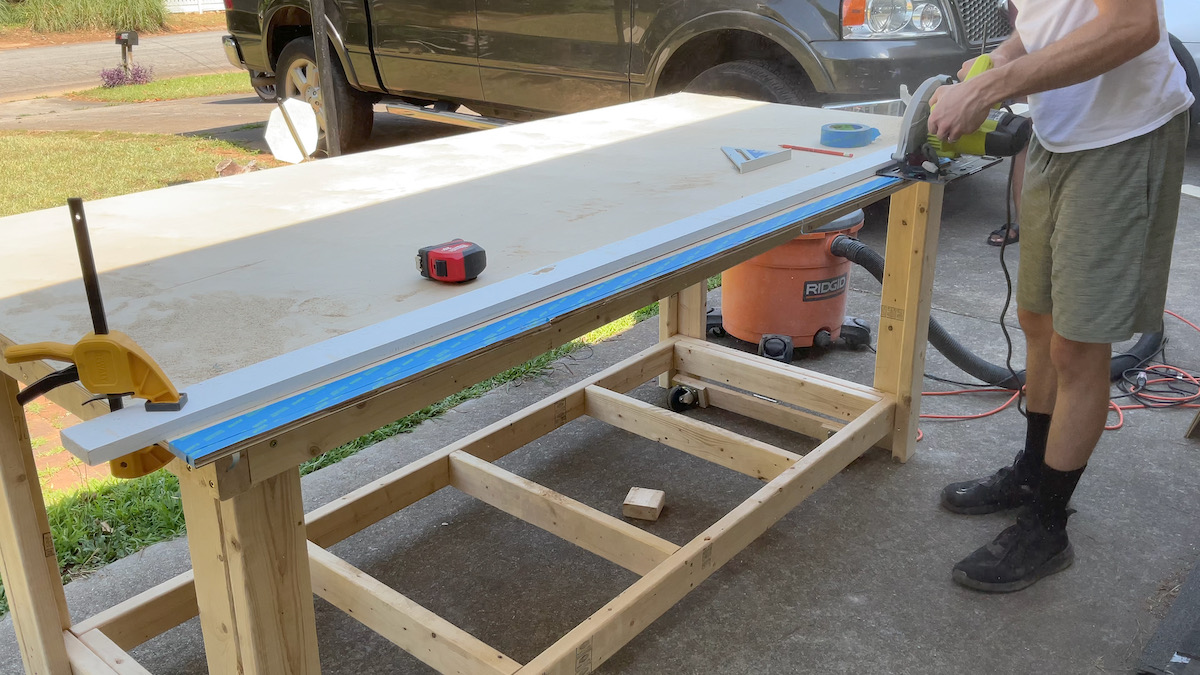
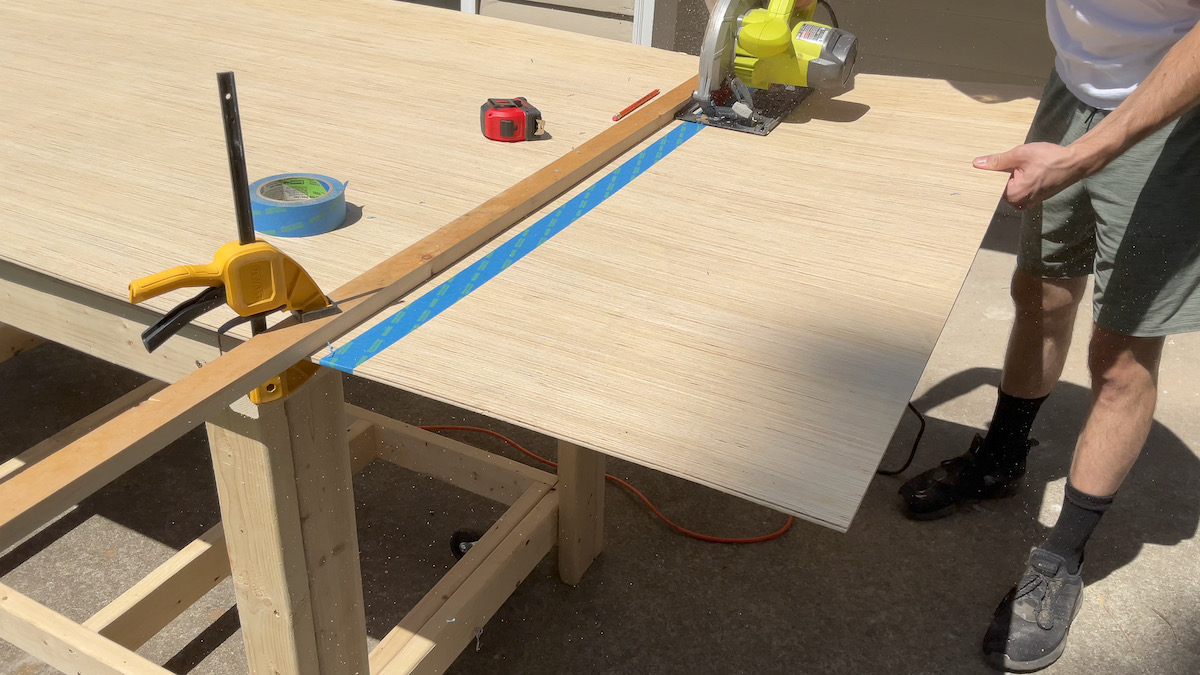
Cut your top table to size. I used 1/2" plywood and this has been plenty strong for me. I also left a small overhang on each side of the table to provide a clamping surface.
Cut your bottom shelf to size. Secure into place with screws.
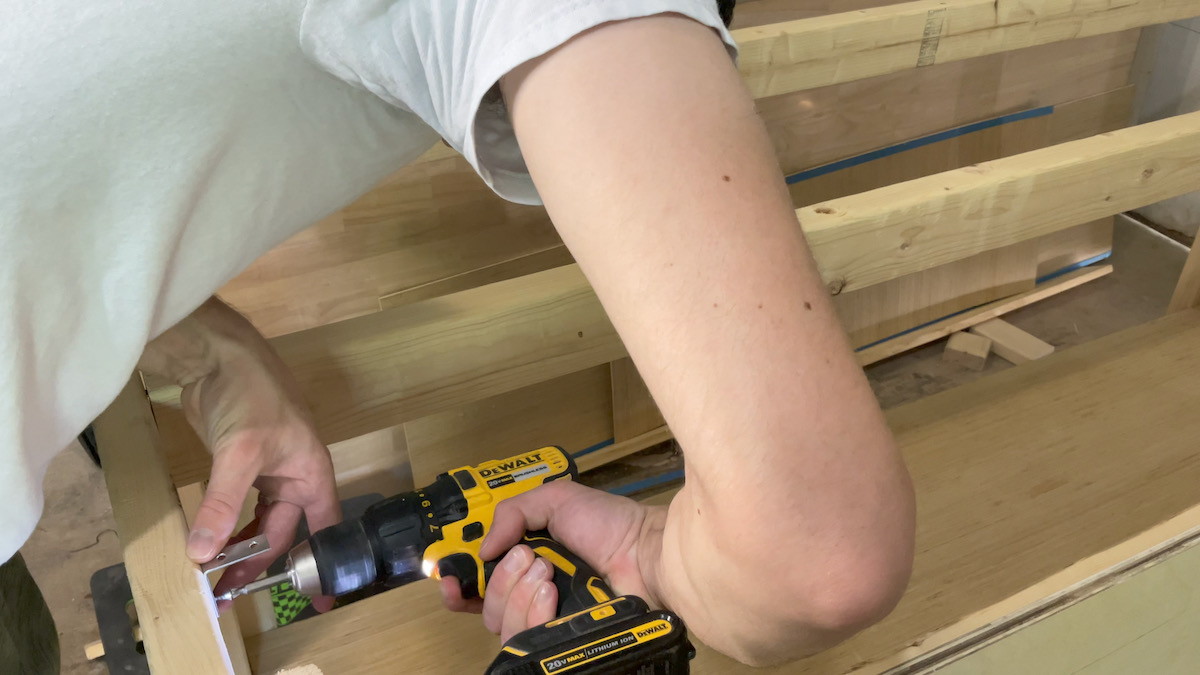
Secure L brackets onto the top framing of the workbench. Clamp the tabletop into place and secure to the L brackets.
I recommend using L brackets so if your table top sustains damage, it can be easily replaced without damaging the rest of the workbench.
Drill a hole in the leg of the workbench for the barrel bolt pin to slide into. Next, secure the barrel bolt to the board that is holding the retractable casters. Make sure it slides freely into the hole.
Repeat this step on both ends of the table.
You’re all done! Step back and admire your awesome work and enjoy the satisfaction of having built your own workbench. Great job!
Thank you so much for checking out today’s 2x4 workbench tutorial! I hope you liked the retractable casters design, it was inspired by another YouTuber (link is in the embedded video) who I thought had a brilliant idea with this setup. Follow August Pine Workshop on social media to see some of my upcoming projects!
These shelves are a simple, affordable garage storage project that will help get your space organized.
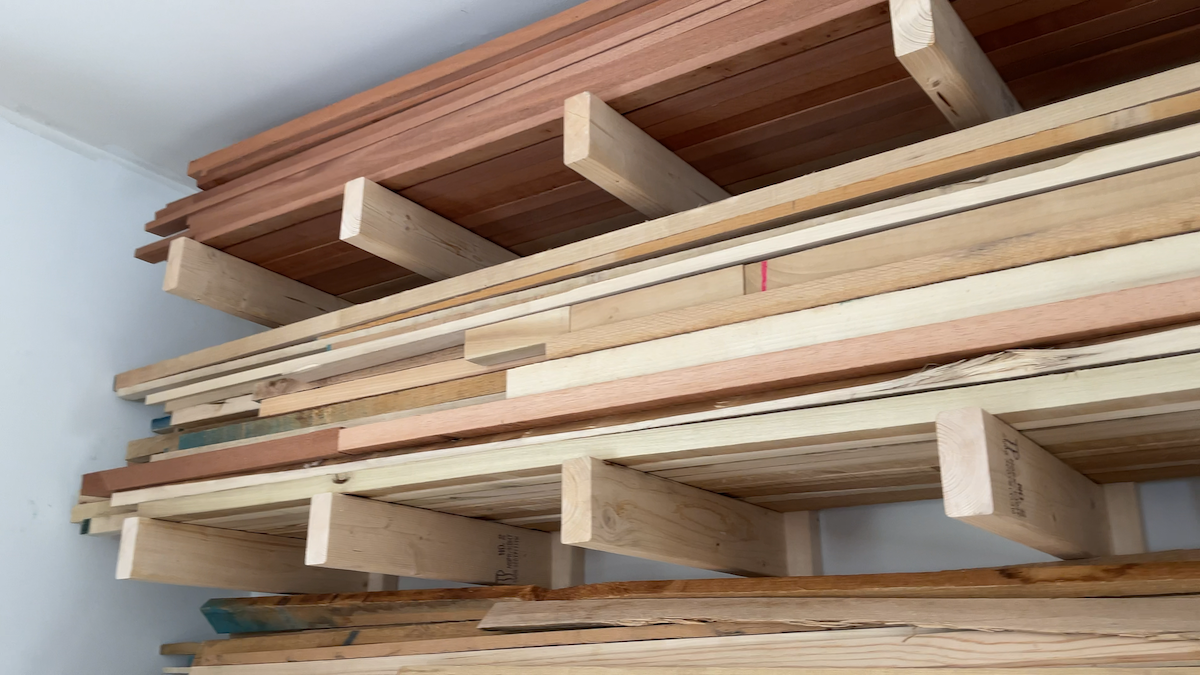
Create a simple, sturdy lumber rack using only 2x4s and screws.
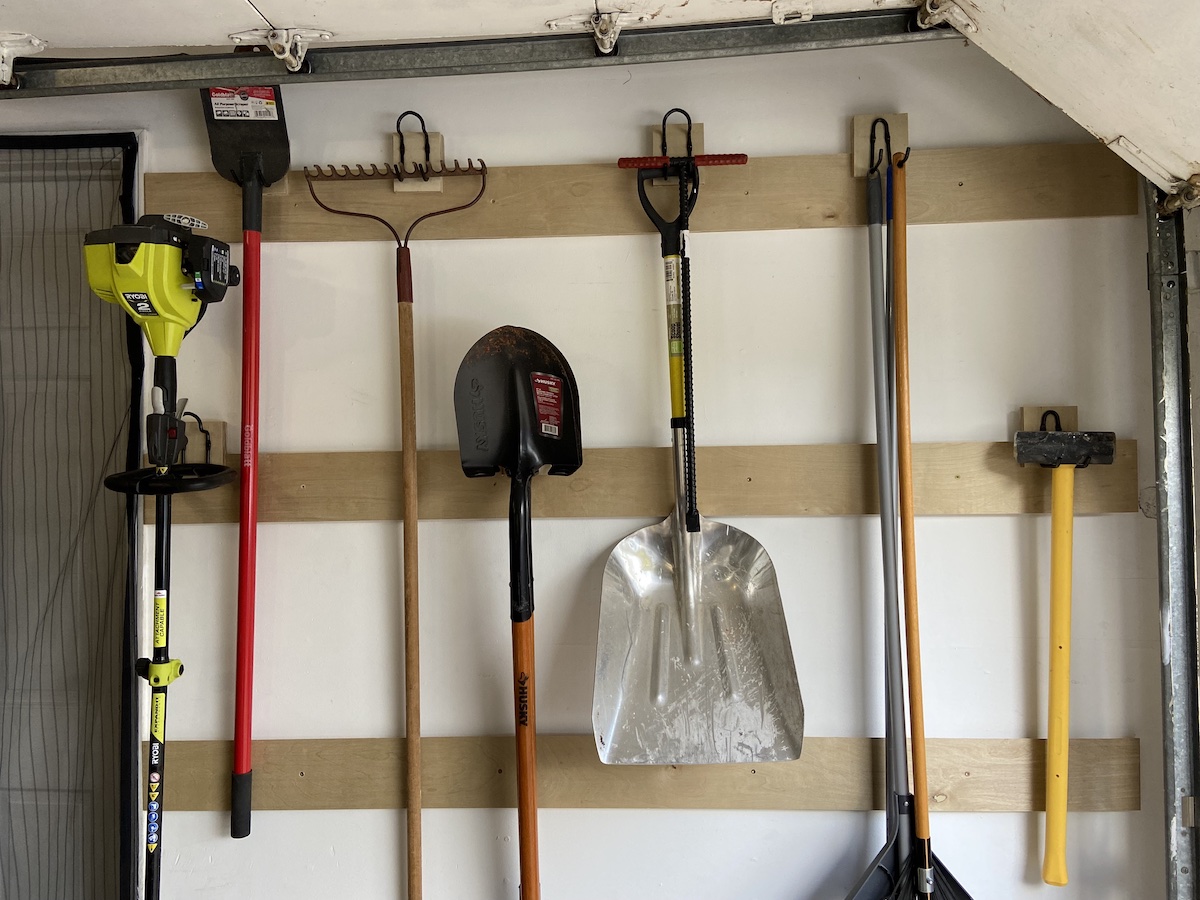
Build an easy and affordable garden tool storage system for your garage/shed using french cleats.